


When discussing photo engraving, some might ask, "Can Photos be Laser Engraved?" The answer is definitely yes!
Photo laser engraving, akin to picture laser engraving and image laser engraving, is a sophisticated technique used to etch or engrave portraits, headshots, or images onto material surfaces like wood, metal, or glass.
This guide will have a thorough look at photo laser engraving, covering how it works on different materials, the laser machine for photo engraving, and the simple steps to create your own laser engraved cork crafts.
In this article:
- Part 1: What is Photo Laser Engraving and the Machine?
- Part 2: Top 4 Creative Ideas for Photo Laser Engraving
- Case Study: Laser Engrave Photo on Metal/Wood within 5 Steps 🔥
Part 1: What is Photo Laser Engraving and the Machine?
1.1 How Do You Turn a Photo into a Laser Engraving?
To get laser engraved photos, laser engravers direct a focused laser beam onto the surface of materials, which emits high energy and causes localized heating and vaporization. This process removes a thin layer of materials and creates the desired engraved photo.
Engraving photo with laser is always the better choice among all photo engraving methods as it offers convenient, precise and durable engraving on various types of materials, providing intricate designs with lasting quality.
1.2 Photo Laser Engraving Machine
To begin photo laser engraving, you'll require a laser engraver. This engraving machine is indispensable for the photo engraving process, as it can streamlize the engraving process and ensuring precise and durable results.
With numerous laser engraving machines available, some people may wonder What laser is best for engraving photo or What is the best laser engraver for photo laser engraving?
Compared to CO2 and fiber laser engravers, some people may be concerned about the ability of diode lasers to engrave photo. However, rest assured that you can engrave photo with a diode laser.
Diode lasers are well suited for home and small-scale photo laser engraving. So if you want portability, convenience and cost efficiency in photo engraving, diode laser engravers are the better option.
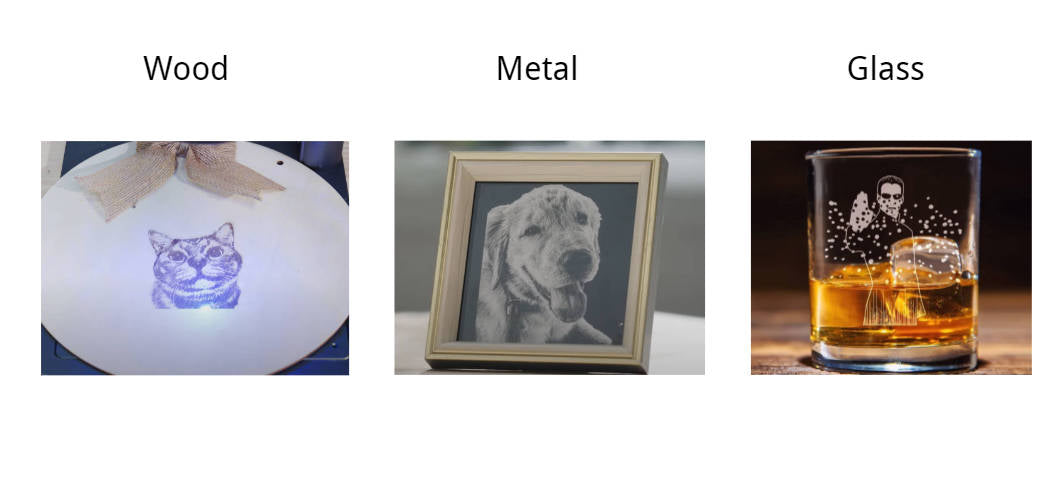
1.3 What is the Best Material for Photo Engraving?
The best material for photo engraving depends on the desired aesthetic and durability. Here are 3 of the best materials for photo laser engraving.
Metal offers sharp detail and durability for photo engraved on metal. Glass provides a smooth and translucent finish for photo engraved on glass, while wood adds a rustic charm with its natural grain for photo engraved on wood . Each material has its unique characteristics, catering to different preferences and styles in photo engraving.
Part 2: Top 4 Creative Ideas for Photo Laser Engraving
Need ideas for laser engraving photo? Here are 3 creative ideas to get you started. Hopefully, these ideas will spark your imagination and kickstart your photo engraving project!
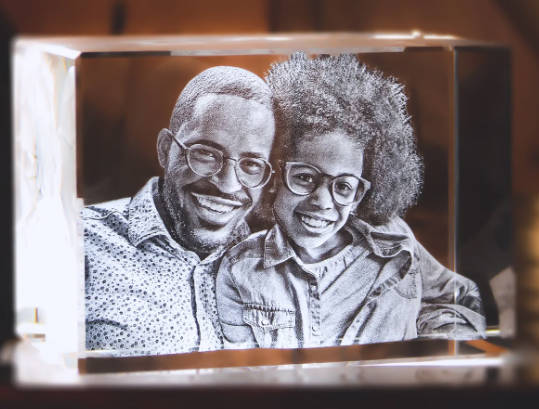
- Photo Laser Engraved on Crystal:
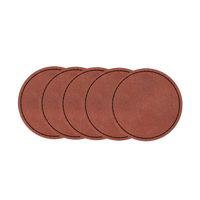
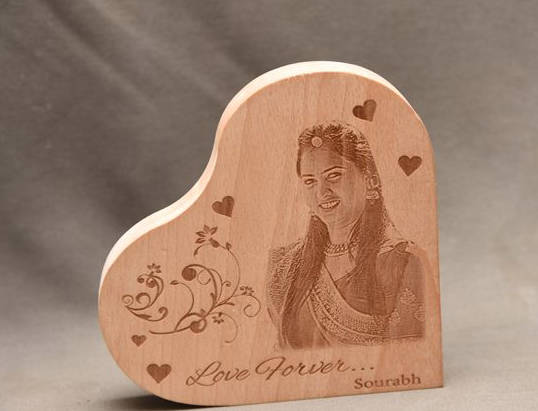
- Photo Laser Engraved on Wood:
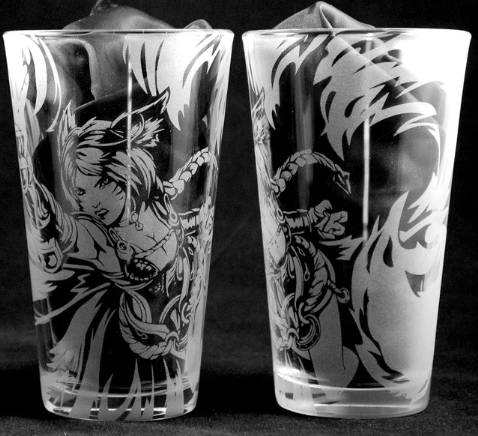
- Photo Laser Engraved on Glass:
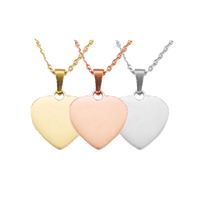
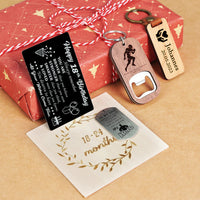
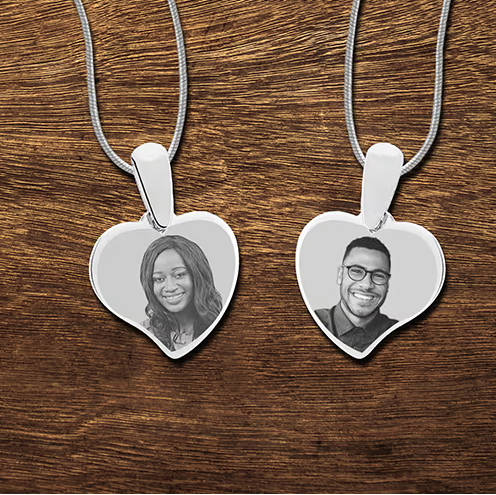
- Photo Laser Engraved on Metal:
With laser, you can etch intricate details onto crystal surfaces, creating mesmerizing 3D-like effects.
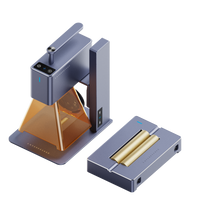
With laser, you can engrave memories onto wood. Visualize a wooden plaque engraved with a scenic landscape, where the natural grain of the wood adds depth and texture to the image.
With laser, you can engrave vibrant images onto glass, showcasing vivid colors and fine details with a sleek and modern finish ideal for personalized gifts or stylish home decor.
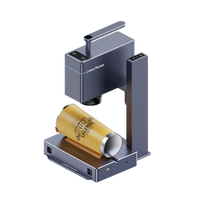
Harnessing the precision of laser engraving, you can immortalize your memories on metal surfaces.
🔥Case Study: Laser Engrave Photo on Metal/Wood within 5 Steps
Preparation checklist for laser engraving photo on metal/wood:
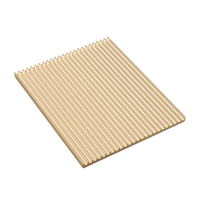
- Engraving Material: Metal/Wood Sheet
- Engraving Machine: Laser Engraver
- Engraving Design: Images, photo, headshot, portrait etc.
Is it hard to laser engrave photo on metal? Not! Whether you prefer patterns, quotes, or images, the process is straightforward. So, How do you prepare a photo for engraving? Don't worry, just follow these 5 simple steps to add personalized and intricate designs to your personalized laser engraved photo.
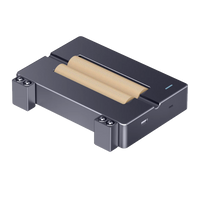
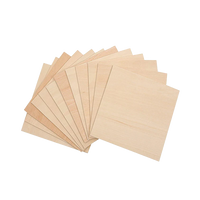
Step 1: Choose Your Material - Metal Sheet
Selecting the right metal sheet for laser engraving is crucial for achieving the desired results. Metal materials with smooth, clear surfaces are excellent options. In this guide, we'll conduct a case study on photo laser engraving on metal with a 3mm black metal/wood sheet!
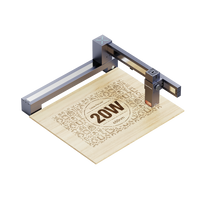
Step 2: Choose the Right Laser Engraving Machine for Photo Laser Engraving
Ensure that your laser engraving machine is compatible with the material your photo will be lasered onto. Evaluate various usage scenarios and select the most appropriate machine accordingly.
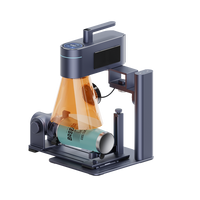
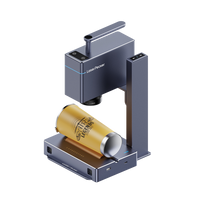
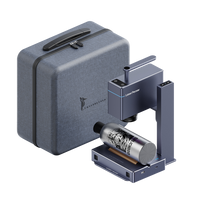
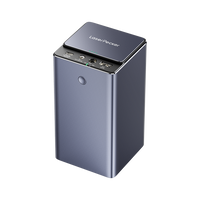
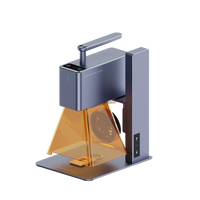
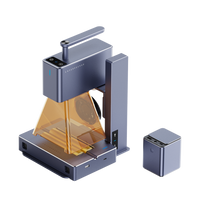
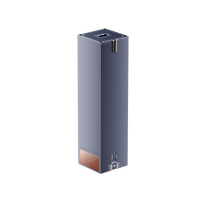
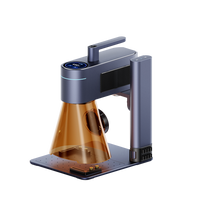
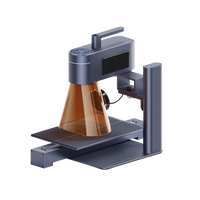
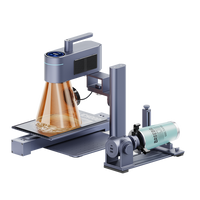
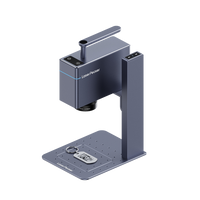
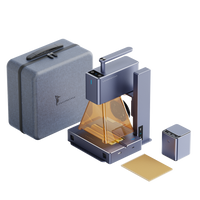
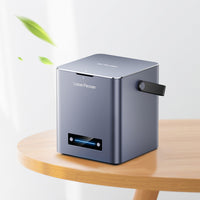
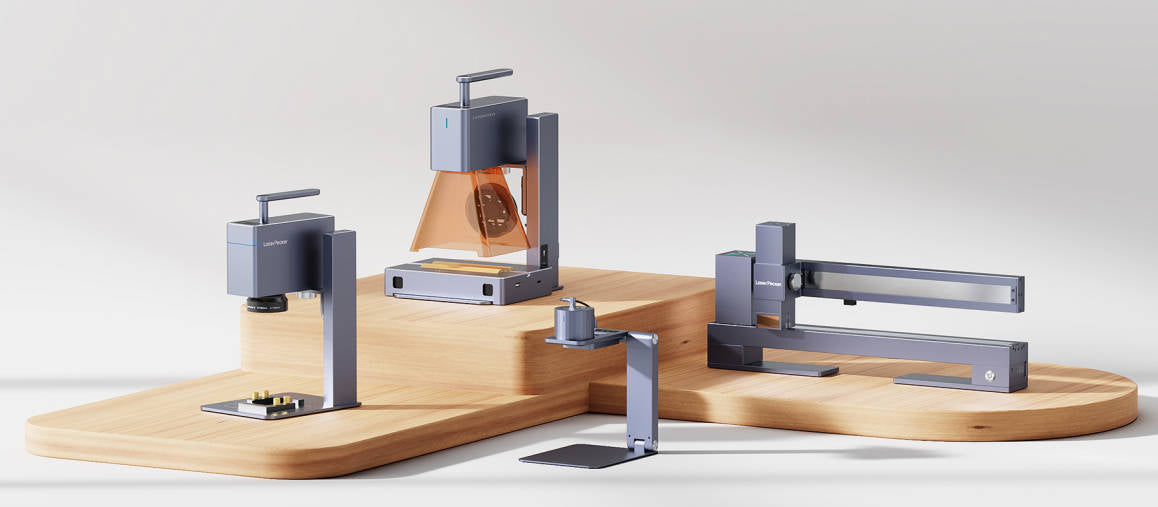
Here, we choose LaserPecker 4 (LP4), a dual laser and multi-functional laser engraver that also excels at laser engraving photo on different materials.
Main Features of LaserPecker 4
- Enhanced Material Compatibility: LP4 is compatible with a wide range of materials, including wood, metal, titanium, silver, gold, copper, brass, silicone, rubber, crystal, stone, metal, plastic, leather, and more.
- Improved Resolution: With selectable resolutions ranging from 1k to 8k, the LP4 provides increased flexibility, allowing users to choose the level of detail that best suits their needs.
- High Engraving Accuracy & Speed: The LP4 exhibits high engraving accuracy and speed, achieving precision levels up to 0.003 mm and speeds reaching up to 2000 mm/s.
- Expanded Workspace: The LP4 provides an expanded workspace of up to 160 mm x 120 mm, enabling engraving on larger objects.
Step 3: Prepare Your Engraving Design
Use a free graphic design software to create or import the photo or image you want to engrave on the metal surface. Consider size, shape, and details like text or patterns.
To make your photo work well on metal, glass, wood, or other materials, you should follow these steps:
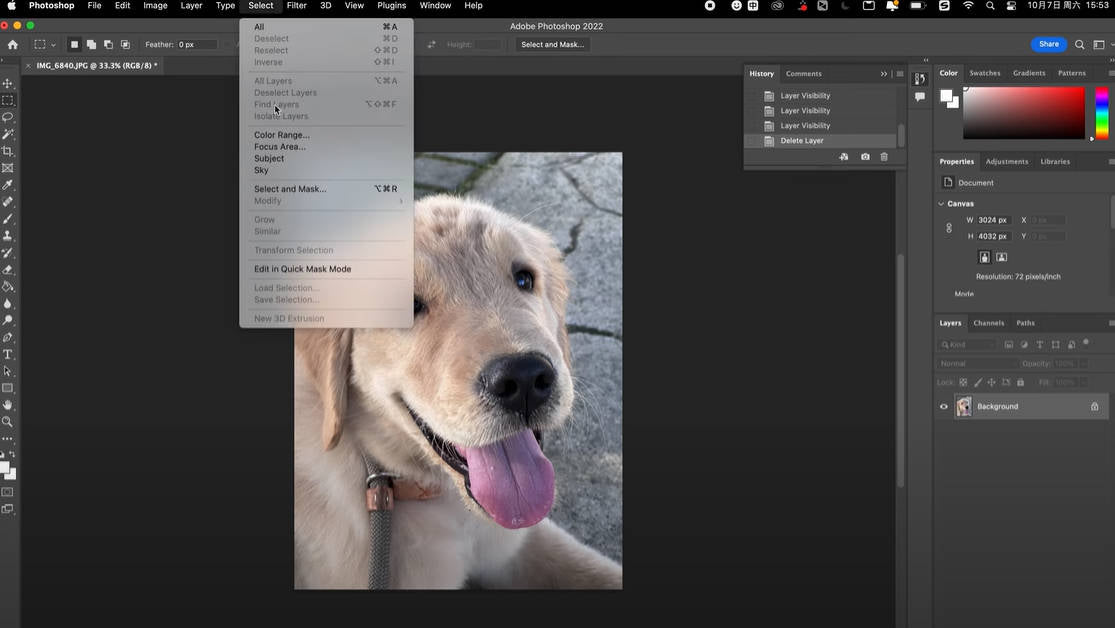
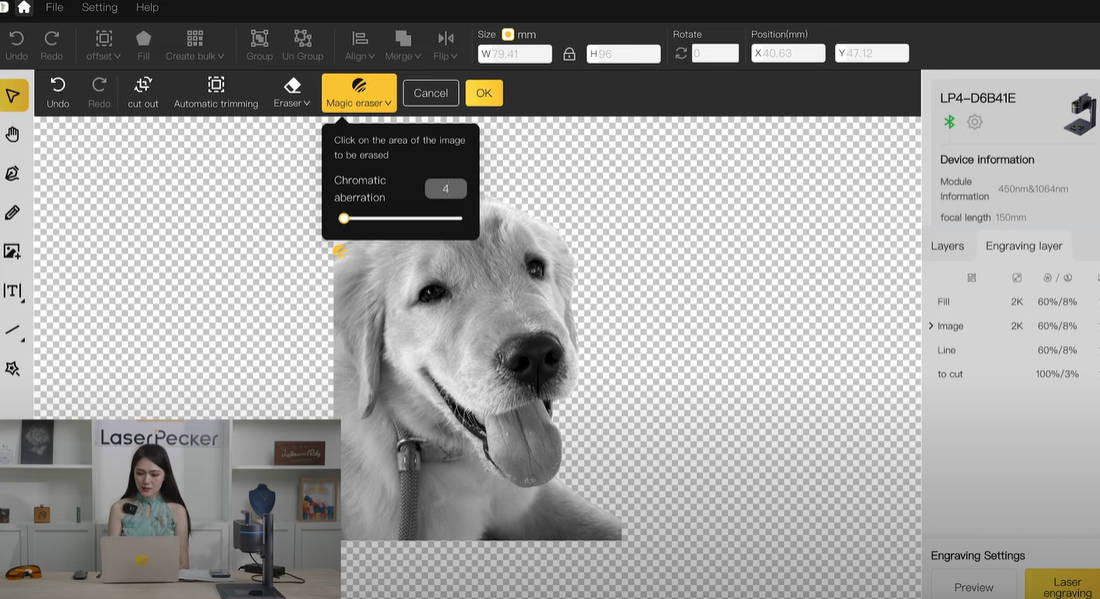
- Start by removing the background of the image using Photoshop. This step will ensure that the focus remains solely on the subject without any distractions.
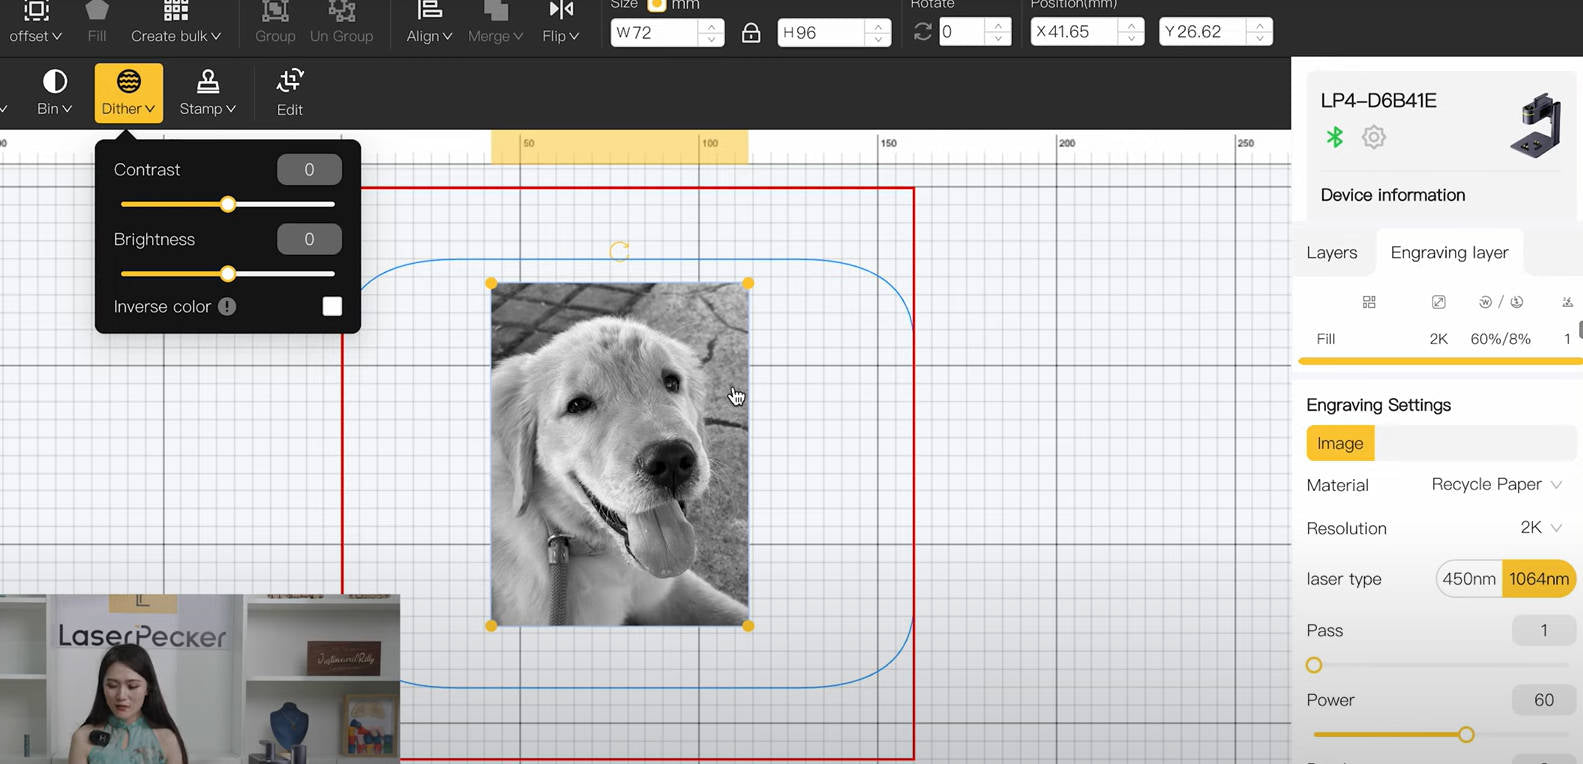
- Next, apply the dithering mode to enhance the gradients and smoothness of the engraved photo.
- Afterward, sharpen the photo to enhance the fine details and clarity of the photo. This step will ensure that every aspect of the image appears crisp and well-defined.
- Finally, If engraving on black metal, invert colors for accurate representation. Skip if engraving on other materials or color schemes.

Step 4: Set up the Photo Laser Engraving Machine
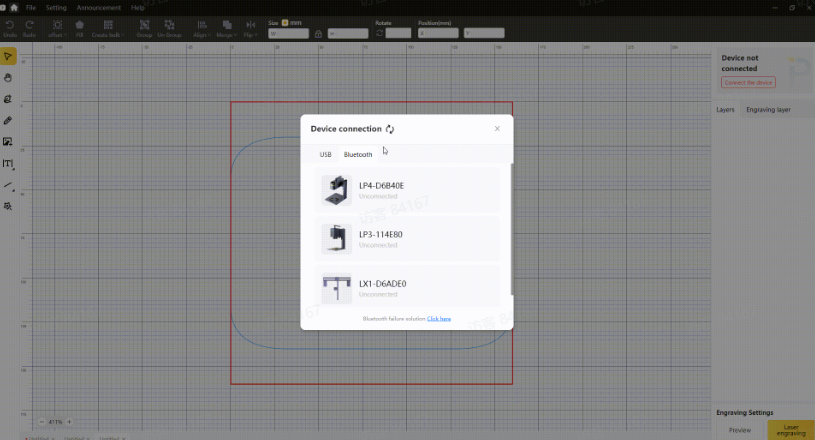
Firstly, Make sure your engraver is powered on, and then connect your laser engraver to your computer or mobile device using the appropriate interface (USB cable, Bluetooth, etc.)
Secondly, Open the graphic design app/software and load your design.
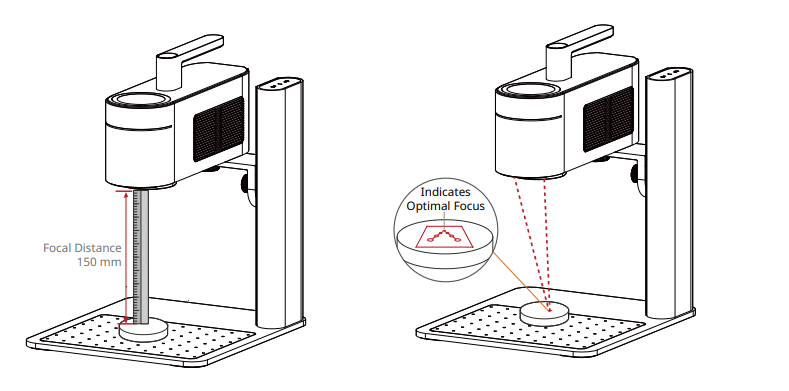
Thirdly, Turn on the "Preview Mode" to confirm if the laser lens is correctly focused. To verify it, you have 2 methods.
If you choose LaserPecker 4 (LP4), the first method is to use a ruler to measure the distance between the metal surface and the machine, with a recommended distance of 15cm or 150mm.
Alternatively, you can achieve the correct focal length by judging whether the two red dots emitted by the machine overlap. This ensures precise focusing for optimal engraving results.
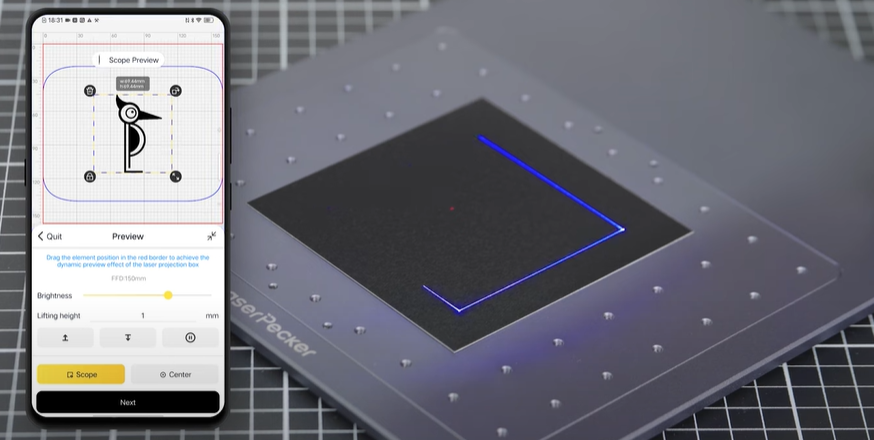
Fourthly, You need to place the items within the designated working area and examine the design's appearance on the metal material. If it doesn't fit correctly, you'll need to adjust its position and size to ensure it aligns with the dimensions of your project.
Finally, Access the software's laser settings to adjust parameters like power, speed, and resolution according to the metal's properties and design intricacy. You might be wondering, "How much laser power is needed to engrave photo on metal?" and "How deep is the laser etch photo on metal?" Rest assured, I've got you covered!
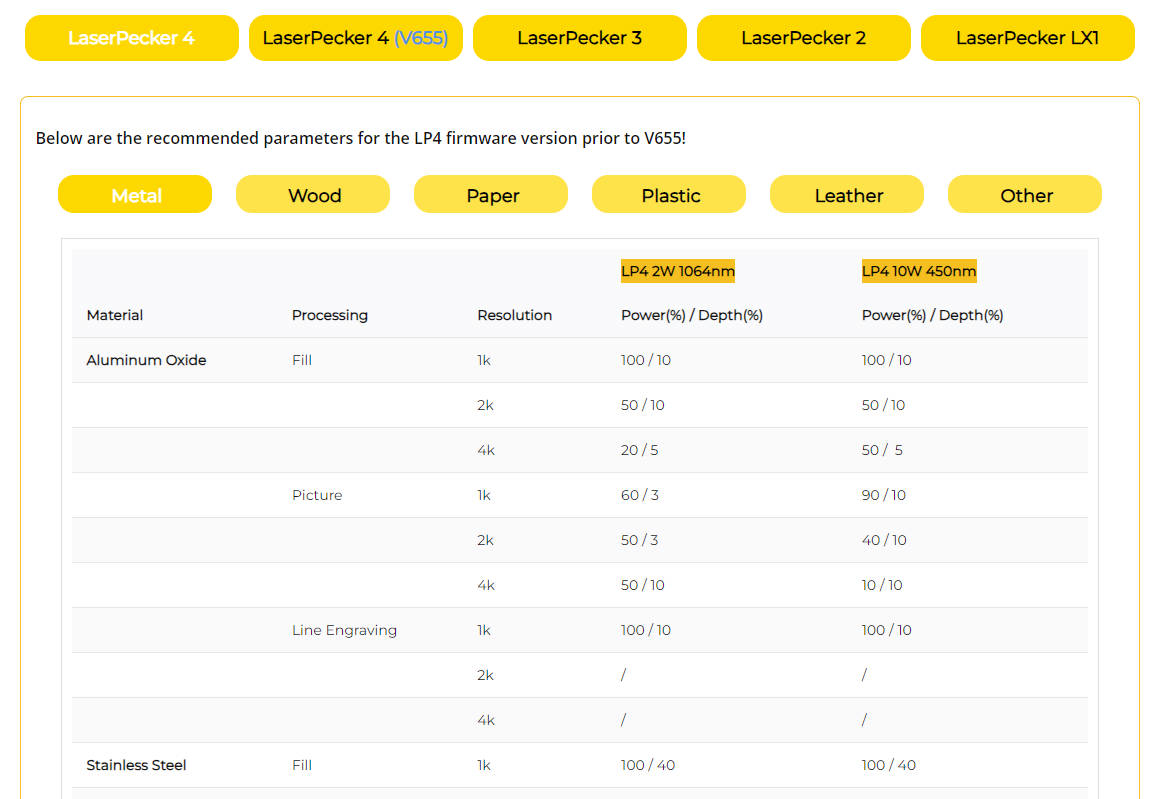
To get the best result, the recommended laserpecker 4 material settings for laser engraving photo on metal is 10 W 450 nm; Resolution: 2k; Power: 40%; Depth: 10%; Pass: 1
To explore other recommended laserpecker engraving and cutting parameters, refer to the settings table that applies to any laserpecker machines, including LP1, LP2, LP3, LP4 and LX1.
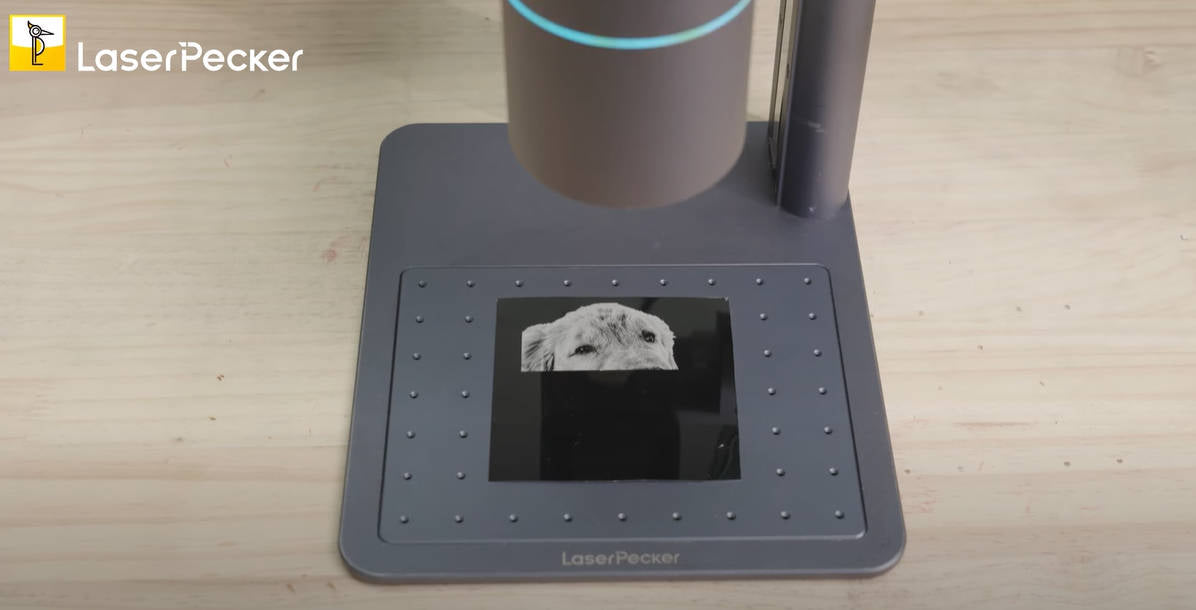
Step 5: Start Engraving Your Photo on Metal With Laser Now
Double-check everything to avoid mistakes. Then, hit the start button and watch the magic happen. The laser brings your design to life. Keep an eye on it, and you're all set!
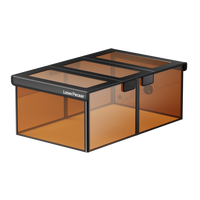
Additionally, please be mindful that smoke may be emitted during the photo laser engraving process. Wearing a mask or employing an air purifier is essential for safety.
If you want to know more about how to use the LaserPecker LP4 machine, check out the LP4 User Manual on our website!
Conclusion
To sum up, this guide showcases laser engraving as a transformative method for engraving photo on different materials. We hope the creative ideas and detailed case study provided here will inspire you to embark on your own photo laser engraving projects and discover the pleasure of engraving.


