


Laser engraving crystal is a technique also known as crystal laser marking or crystal laser etching. It involves the precise utilization of laser beams to etch intricate designs, text, or images onto various crystal surfaces, including crystal ball, crystal plate and glassware.
In this guide, we delve into crystal laser engraving, exploring its working process, required machine and the simple steps to create your own laser engraved crystal crafts.
In this article:
- Part 1: What is Crystal Laser Engraving and the Machine?
- Case Study: Laser Engrave a Crystal Ball within 5 Steps 🔥
- Projects: Top 3 Creative Projects for Crystal Laser Engraving
Part 1: What is Crystal Laser Engraving and the Machine?
1.1 How are Crystals Engraved?
Crystal laser engraving is a technique that works by directing a focused laser beam onto the crystal's surface. This beam of light emits high energy, removing a thin layer of material and creating the desired engraving effect, such as text, graphics, or patterns.
What's more, crystal laser engraving is always the better choice among all methods of crystal engraving as it offers precise and durable engraving on various types of crystal, providing intricate designs with lasting quality.
1.2 Crystal Laser Engraving Machine:
To begin crystal laser engraving, particularly on crystal ball or plates, you'll require a laser engraving machine. These machines are indispensable for crystal engraving, as they can handle the hardness and density of crystal materials, streamlining the engraving process and ensuring precise and durable results.
With numerous laser engraving machines available, some people may wonder What laser is best for engraving crystal or what laser engraving machine is best for crystal engraving?
Actually, both Diode and CO2 lasers are ideal for engraving crystal. However, if you prioritize portability, convenience, and cost-efficiency, Diode laser engravers are the preferred choice.
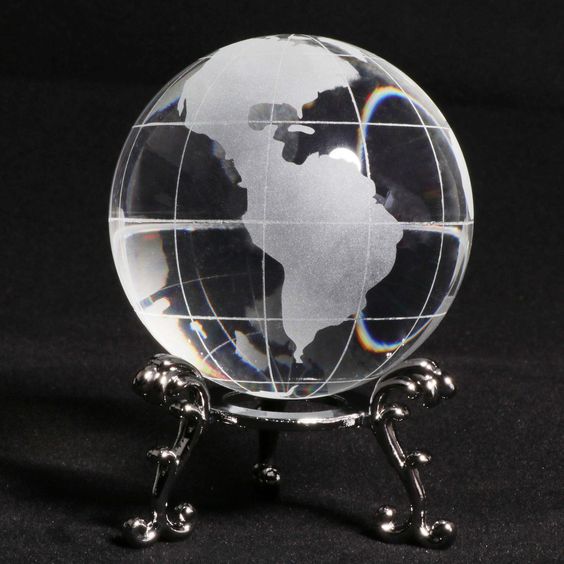
🔥 Case Study: Laser Engrave a Crystal Ball within 5 Steps
Preparation Checklist for Laser Engraving Crystal Ball:
- Engraving Material: Crystal Balls
- Engraving Machine: Crystal Laser Engraver
- Engraving Design: Text, Images, Patterns, etc
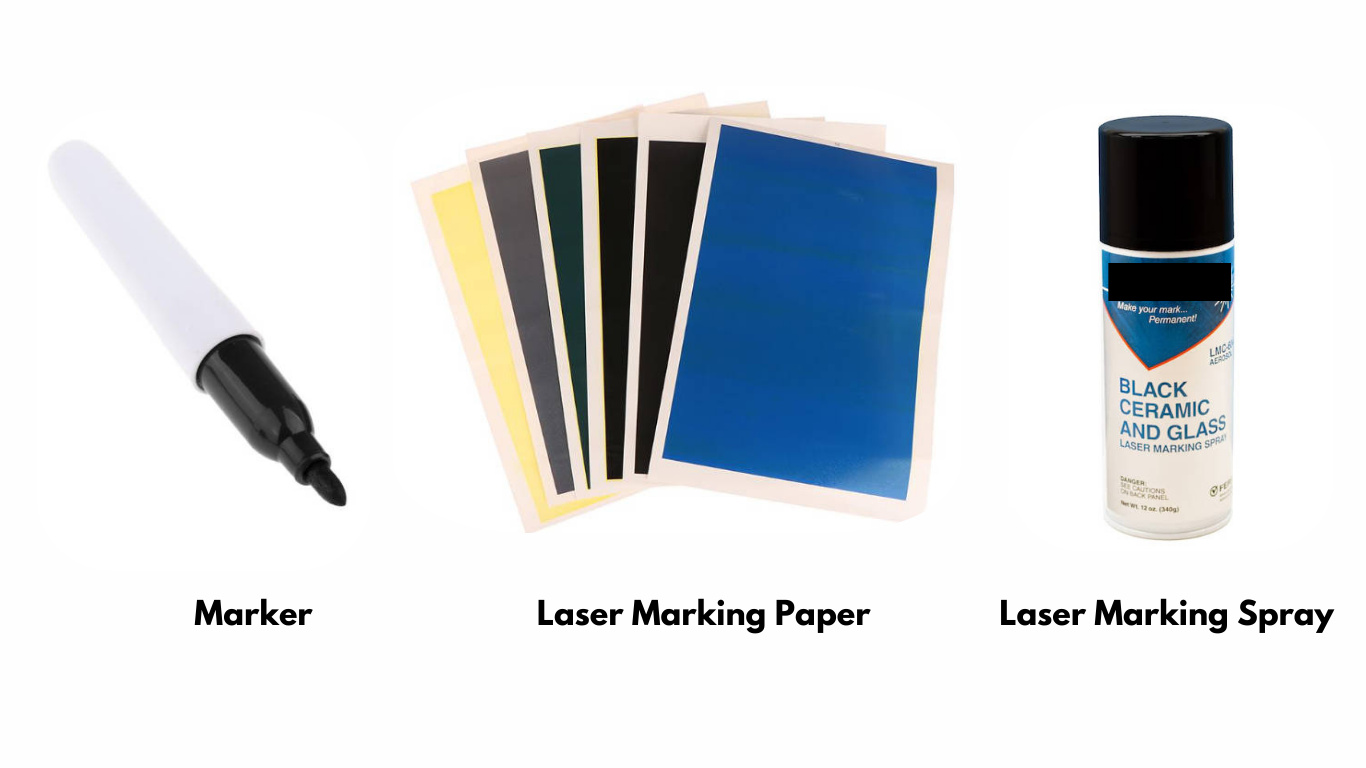
- Other Tools: Laser Engraving Marking Paper or Marker
Is it possible to engrave crystal? Definitely not! Whether you prefer patterns, quotes, or images, the process is straightforward. Follow these 5 simple steps to add personalized and intricate designs to your laser engraved crystal items.
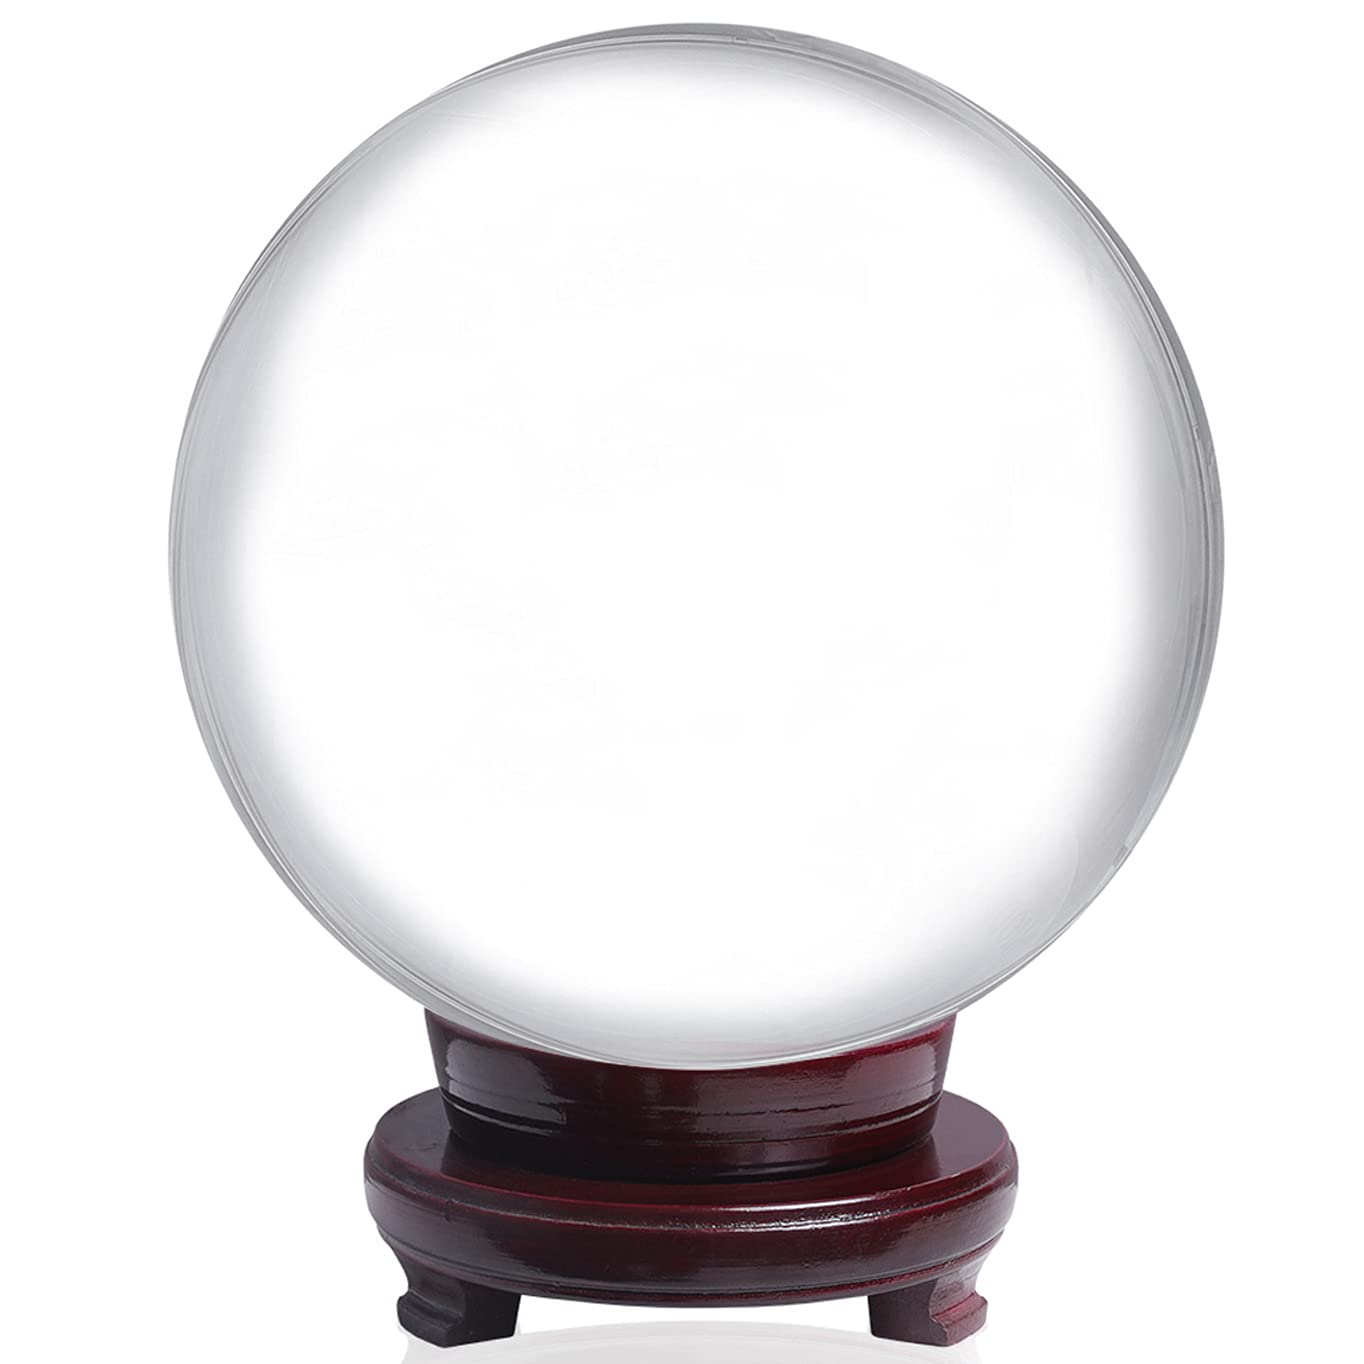
Step 1: Choose Your Crystal Material
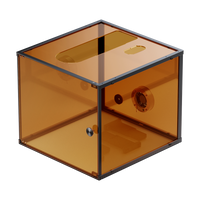
Selecting the right crystal material for laser engraving is crucial for achieving desired results. Crystal materials with clear and smooth surfaces are all good choices.
Meanwhile, please remember that it's important to choose laser-safe crystal material to avoid any potential safety hazards. In this guide, we'll do a case study with a clear crystal ball.
*Tips: To engrave clear or transparent materials like crystal, glass, acrylic, or ceramic with a laser, you'll need to take some extra steps to ensure the desired engraving effect. You can either coat the surface with a marker, cover it with laser marking paper, or use laser marking spray.
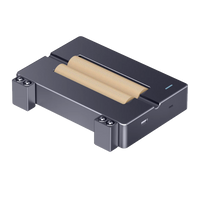
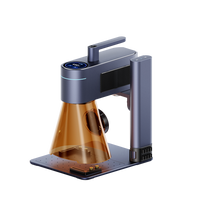
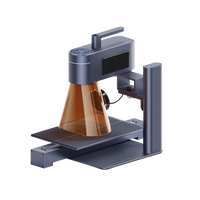
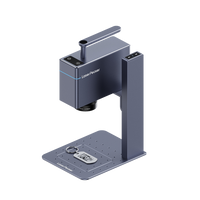
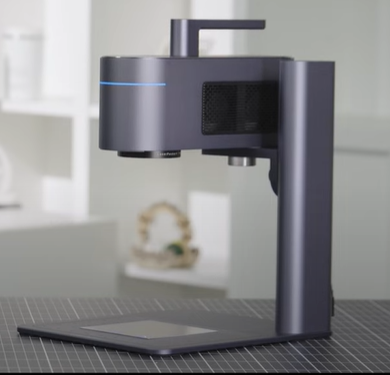
Step 2: Choose the Right Laser Engraving Machine for Crystal
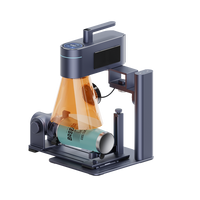
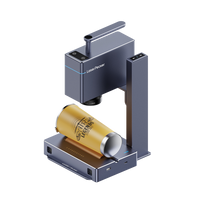
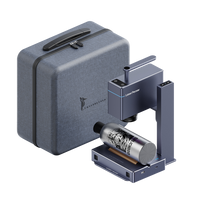
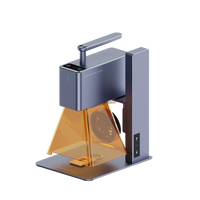
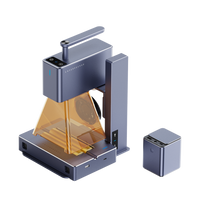
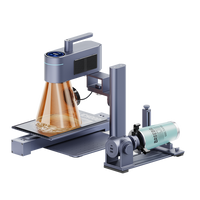
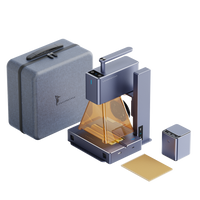
Here, we recommend LaserPecker 4 (LP4), which is a dual-laser and multi-functional laser engraver.
Main Features of LaserPecker 4
- Enhanced Material Compatibility: LP4 is compatible with a wide range of materials, including crystal, paper, ceramic, copper, gold, stone, metal, wood, plastic, leather, etc and cutting paper, wood, acrylic, leather, fabric.
- Improved Resolution: With selectable resolutions ranging from 1k to 8k, the LP4 provides increased flexibility, allowing users to choose the level of detail that best suits their needs..
- High Engraving Accuracy & Speed: The LP4 exhibits high engraving accuracy and speed, achieving precision levels up to 0.003 mm and speeds reaching up to 4000 mm/s.
- Expanded Workspace: The LP4 provides an expanded workspace of up to 160 mm x 120 mm, enabling engraving on larger objects.
- Intuitive LED Touch Screen: The LP4 features a smart LED touch screen, enhancing your engraving experience with ease of use and smooth navigation.
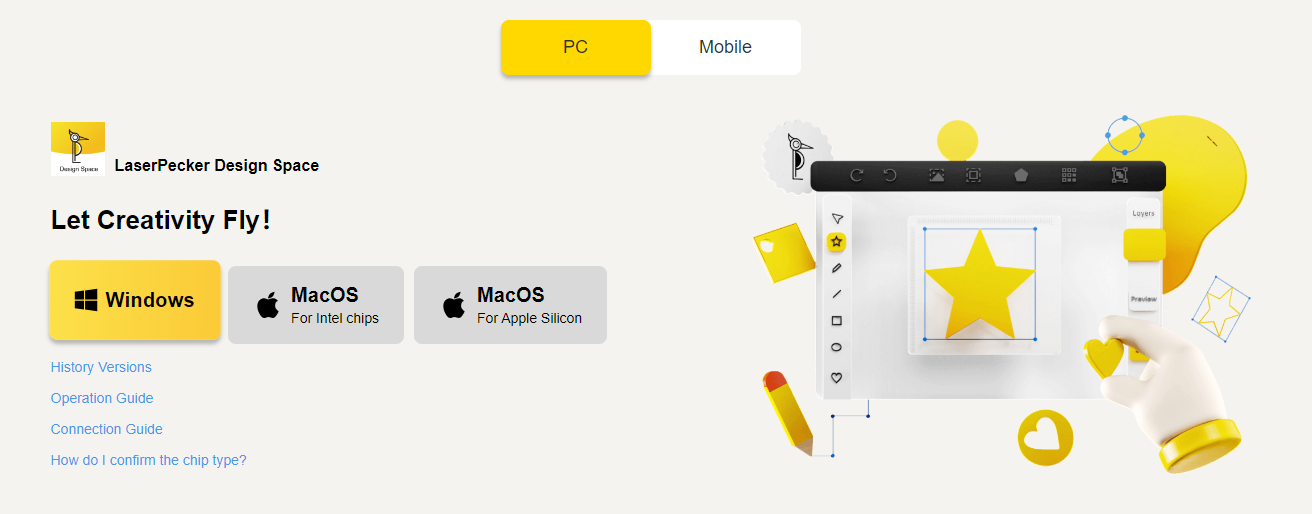
Step 3: Prepare Your Engraving Design
Use a free graphic design app/software to create or import the image or pattern you want to engrave on the crystal ball surface. Consider size, shape, and details like text or patterns.
Step 4: Set up the Crystal Laser Engraving Machine
Firstly, Make sure your engraver is powered on, and then connect your laser engraver to your computer or mobile device using the appropriate interface (USB cable, Bluetooth, etc.)
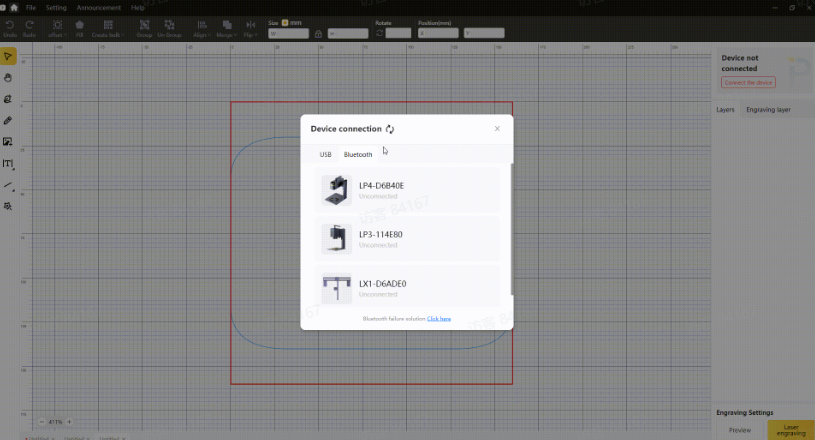
Secondly, Open the graphic design software and load your design.
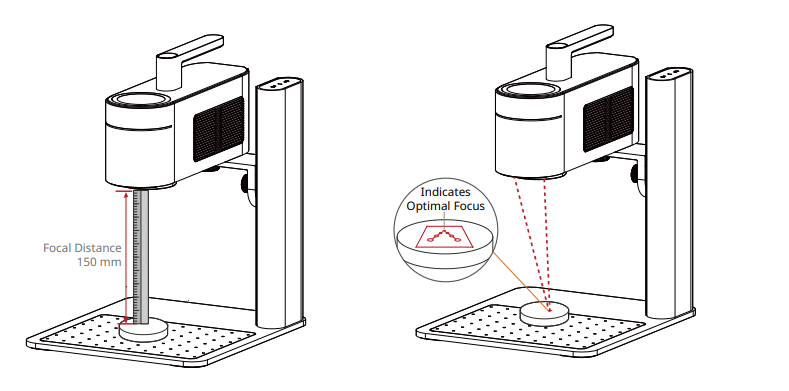
Thirdly, Turn on the "Preview Mode" to confirm if the laser lens is correctly focused. To verify it, you have 2 methods.
If you choose LaserPecker 4 (LP4), the first method is to use a ruler to measure the distance between the crystal ball surface and the machine, with a recommended distance of 15cm or 150mm.
Alternatively, you can achieve the correct focal length by judging whether the two red dots emitted by the machine overlap. This ensures precise focusing for optimal engraving results.
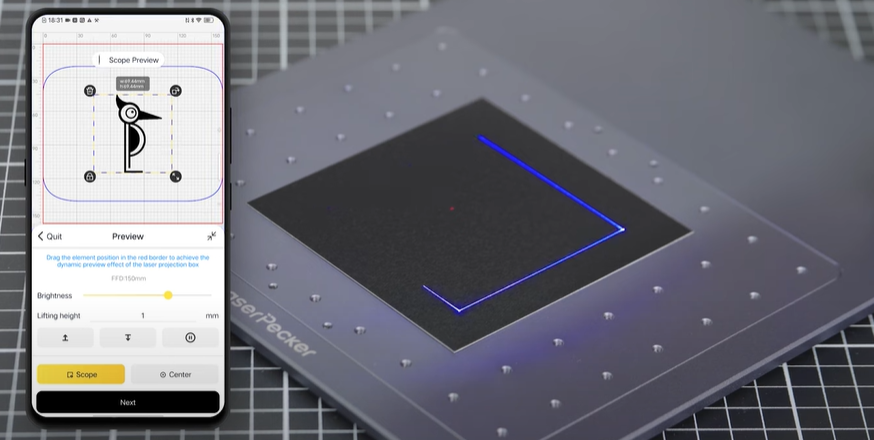
Fourthly, You need to place the items within the designated working area and examine the design's appearance on the crystal ball. If it doesn't fit correctly, you'll need to adjust its position and size to ensure it aligns with the dimensions of your project.
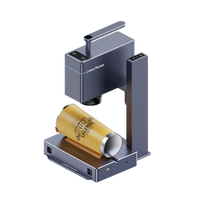
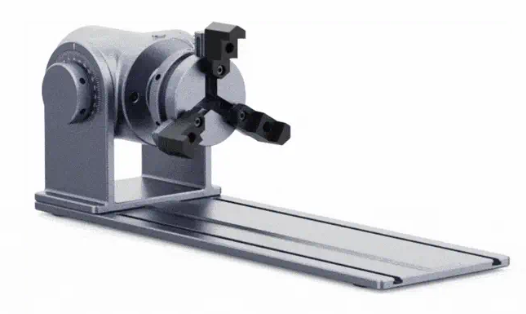
*Tips: When engraving round objects such as crystal balls and glass cups, employing a rotary extension can significantly enhance the engraving process. By continuously rotating the item, the laser can maintain a consistent focus and trajectory, which helps to produce a more precise and uniform engraving across the curved surface.
Finally, Access the software's laser settings to adjust parameters like power, speed, and resolution according to the crystal ball's properties and design intricacy. You might be wondering, "How much laser power is needed to engrave crystal ball?" and "How deep is the laser etch on crystal ball?" Rest assured, I've got you covered!
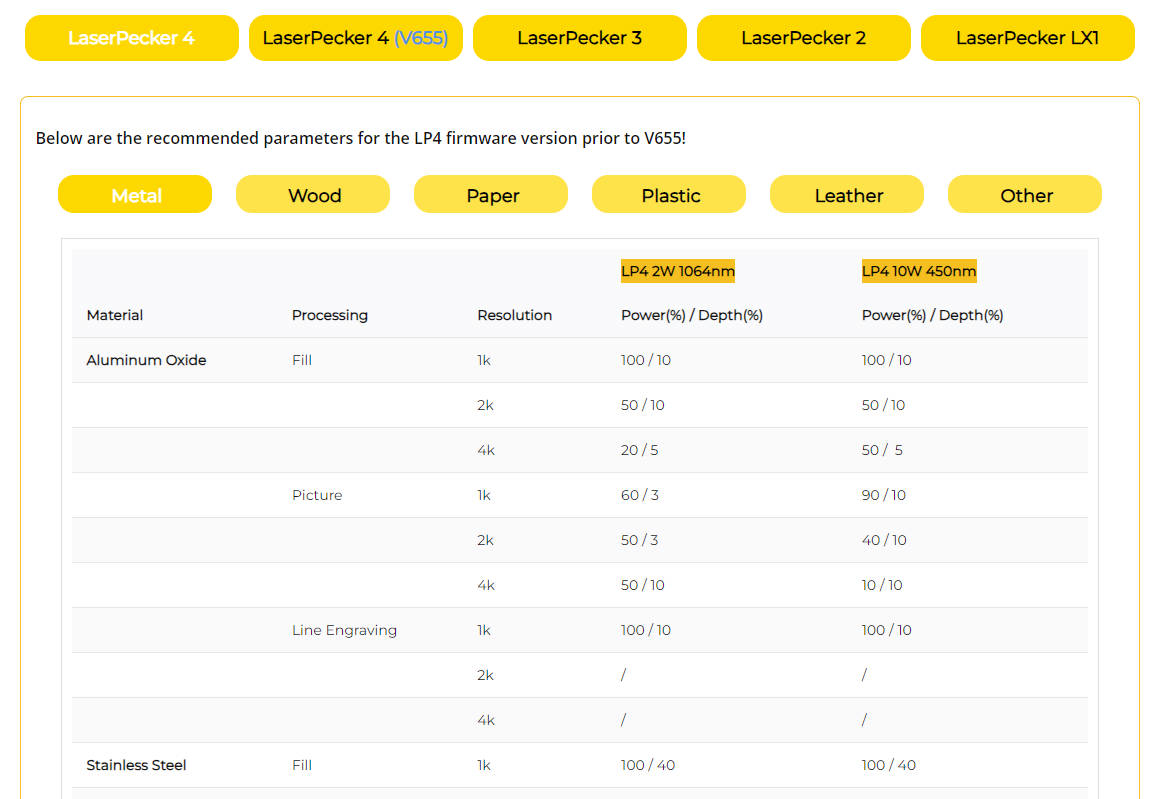
To get the best result, the recommended laserpecker 4 material settings for crystal ball is 2 W 1064 nm; Resolution: 2k; Power: 100%; Depth: 10%; Pass: 1
To explore other laserpecker material settings, refer to the settings table that applies to any laserpecker engraving and cutting machines, including LP1, LP2, LP3, and LP4.
Step 5: Start Your Crystal Laser Engraving Now
Double-check everything to avoid mistakes. Then, hit the start button and watch the magic happen. The laser brings your design to life. Keep an eye on it, and you're all set!
When operating a laser engraving machine with a 450 nm blue laser, it's advisable to wear goggles or use a laser protection cover to protect your eyes and body from potential harm, as the blue laser can pose risks.
Additionally, please be mindful that smoke or toxic gases may be emitted during the crystal laser engraving process. Wearing a mask or employing an air purifier is essential for safety.
If you want to know more about how to use the LaserPecker LP4 machine, check out the LP4 User Manual on our website!
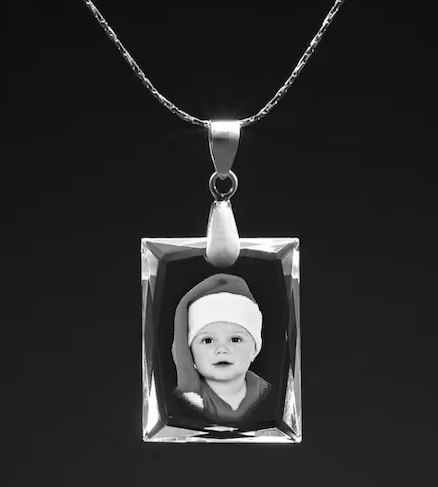
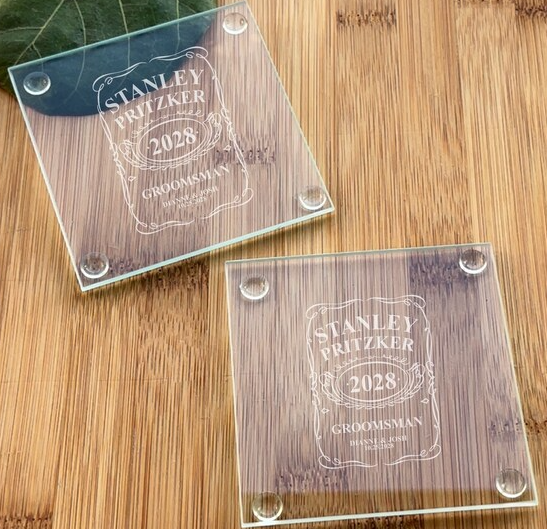
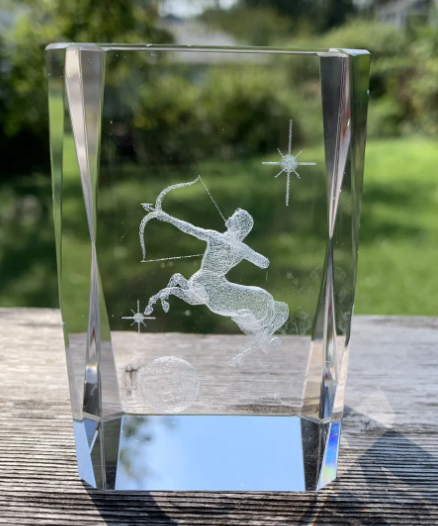
Projects: Top 3 Creative Projects for Crystal Laser Engraving
Now that you've completed the crystal ball laser engraving case study, we're excited to offer you 3 more crystal engraving projects (from crystal necklace to paperweights) for practice and inspiration!
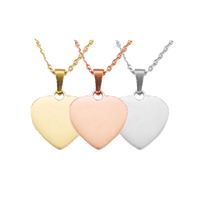
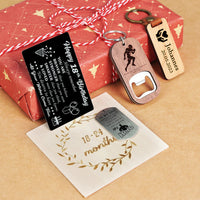
- Crystal Necklace:
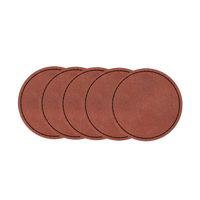
- Crystal Coasters:
- Crystal Paperweights:
Design custom crystal pendants with laser-engraved initials, names, or meaningful symbols, creating beautiful and personalized jewelry pieces that are both elegant and sentimental.
Personalize crystal coasters with intricate designs, monograms, or custom messages, adding a touch of elegance to any table setting or home decor.
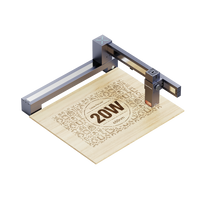
Design laser-engraved crystal paperweights with inspiring quotes, corporate logos, or commemorative dates, providing practical and decorative desk accessories for home or office use.
Conclusion
In short, this guide introduces crystal laser engraving and its ability to transform personalized art. We hope it inspires you to explore crystal laser engraving, allowing your creativity to flourish and bring imaginative designs to life on crystal materials.


