


MDF, or Medium Density Fiberboard, is a composite wood product made from wood fibers and resin binder, compressed under high pressure and temperature. It's commonly used in furniture, cabinetry, flooring, and decorative applications due to its smooth surface and uniform density.
MDF laser cutting, also known as laser cutting MDF, is a refined method for precisely shaping MDF into various designs, letters, or shapes. Cutting MDF with laser, your creative ideas can be transformed into stunning crafts effortlessly. In this guide, we'll delve into MDF laser cutting, covering all aspects from beginning to end!
In this article:
- Part 1: What is MDF Laser Cutting?
- Case Study: Laser Cut MDF Candle Holder Within 5 Steps 🔥
Part 1: What is MDF Laser Cutting?
1. How Does Laser Cut MDF?
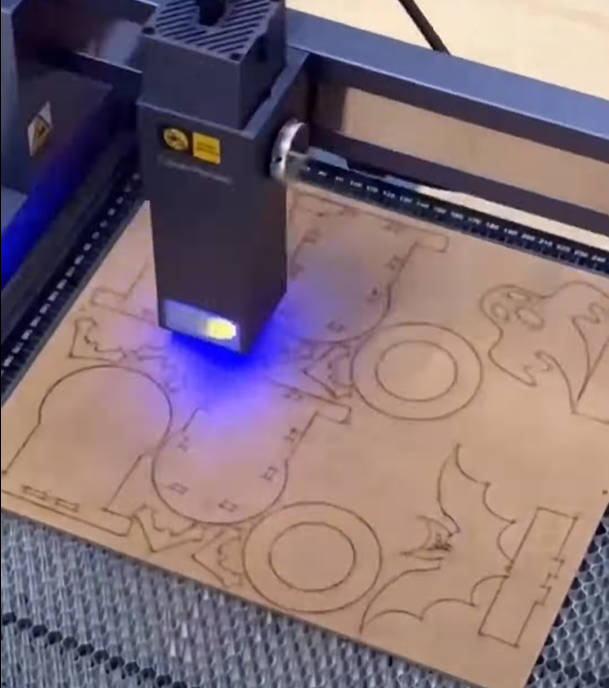
Is MDF good for laser cutting? Yes! Laser cutting MDF involves the use of a high-powered laser beam that is focused onto the MDF's surface. The intense heat generated by the laser beam causes the MDF to melt and vaporize along the path of the beam, resulting in a clean and precise cut.
Since the laser beam is controlled by computer software, even intricate and complex designs can be cut with high accuracy. Compared to other MDF cutting methods, this method produces smooth edges and minimal kerf width, making it perfect for intricate patterns and shapes.
2. MDF Laser Cutting Machine:
To laser cut MDF, you'll require a laser cutter, which is crucial for streamlining the cutting process and achieving precise results. With various laser cutting machines on the market, many may ask: "Which laser is best for MDF laser cutting?" or "What machine do I need to cut MDF?"
Actually, a diode laser cutter is well suited for home and small-scale MDF laser cutting. So if you want portability, convenience and cost-effectiveness in MDF cutting, a diode laser cutter is a better option.
3. What Thickness of MDF can Be Laser Cut?
The thickness of Medium Density Fiberboard (MDF) that can be laser cut depends on the power and type of laser cutter being used. In general, MDF with a thickness ranging from 1/8 inch (3mm) to 3/4 inch (19mm) is commonly laser cuttable.
For a 10W diode laser cutter, a 3-9 mm MDF is recommended. If thicker MDF poses challenges, adjusting for multiple passes can help overcome this issue.
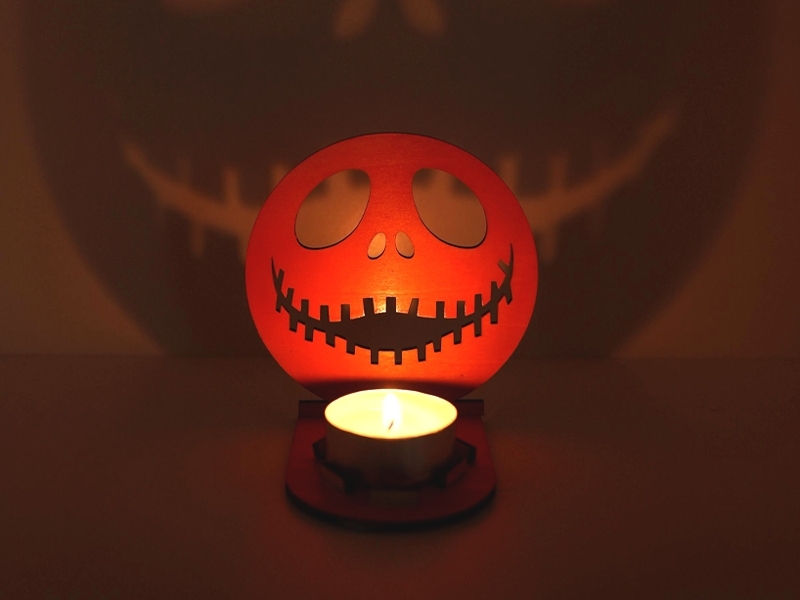
🔥Case Study: Laser Cut MDF Candle Holder Within 5 Steps
Preparation checklist for laser cutting MDF candle holder:
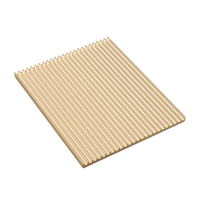
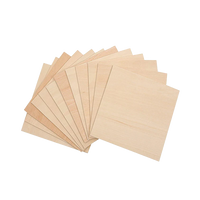
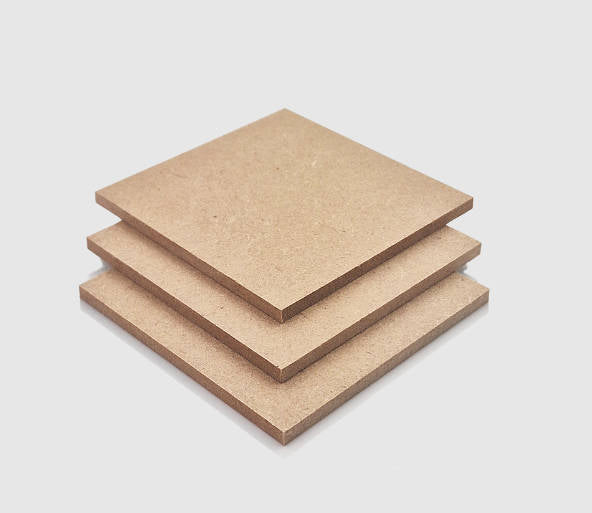
- Cutting Material: 3mm MDF Board
- Cutting Machine: Laser Cutter
- Cutting Design: Designs, letters, shapes, etc.
Can you laser cut MDF? Yes! The process is straightforward. So, How long does it take to cut MDF? Don't worry, just follow these 5 simple steps to get your laser cut MDF crafts in a few minutes!
Step 1: Choose Your Material - 3mm MDF Board
Selecting the right material is crucial for the laser cut MDF. Different materials require specific laser settings to ensure precise cutting. In addition, it's important to choose laser-safe MDF to avoid any potential safety hazards.
Step 2: Choose the Right Laser Cutting Machine for MDF Cutting
Ensure that your laser cutting machine is compatible with MDF. Evaluate various usage scenarios and select the most appropriate machine accordingly.
Furthermore, with precise control over the power and depth, lasers can cut MDF without scorching the edges. So, if someone asks, "How do you laser cut MDF without burning it?" You know the answer!
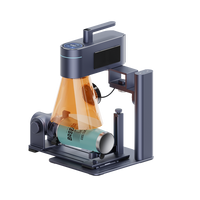
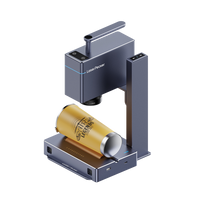
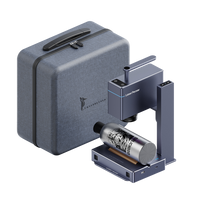
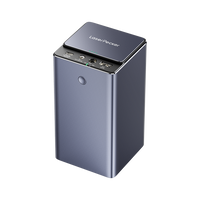
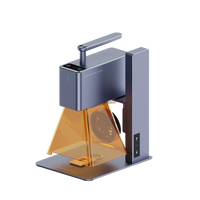
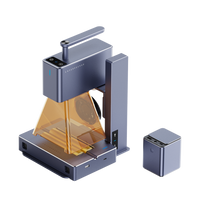
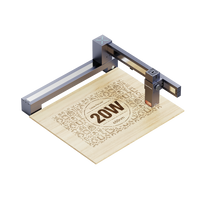
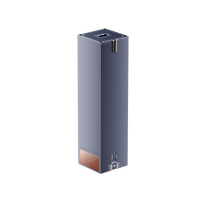
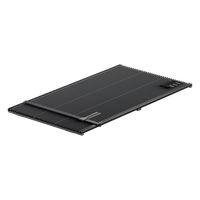
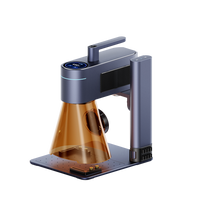
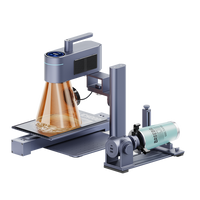
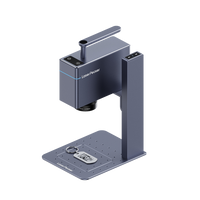
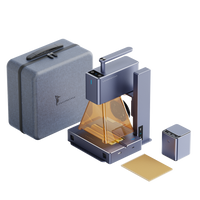
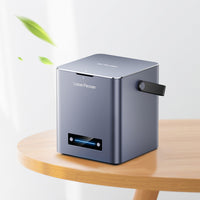
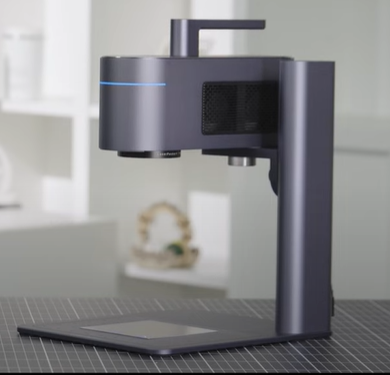
Here, we recommend LaserPecker 4 (LP4), which is a dual-laser and multi-functional laser cutter and engraver. This careful selection will ensure optimal results for your MDF laser cutting projects.
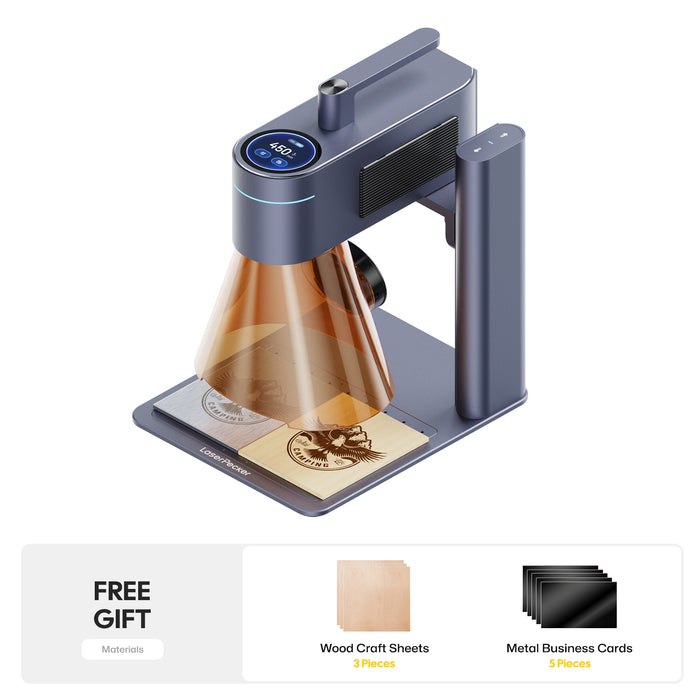
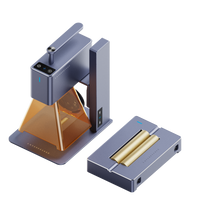
LaserPecker 4 (LP4) - A Good Cutter & Engraver for MDF
Main Features of LaserPecker 4
- Dual-Laser Capability: The LP4 features dual lasers, providing flexibility to tailor your choices based on scene requirements.
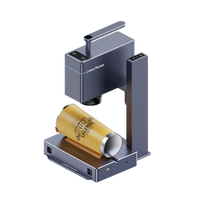
- Enhanced Material Compatibility: LP4 is compatible with a wide range of materials, including engraving titanium, silver, gold, copper, brass, silicone, rubber, crystal, stone, metal, wood, plastic, leather, etc and cutting acrylic, leather.
- Improved Resolution: With selectable resolutions ranging from 1k to 8k, the LP4 provides increased flexibility, allowing users to choose the level of detail that best suits their needs.
- High Engraving/Cutting Accuracy & Speed: The LP4 exhibits high engraving/cutting accuracy and speed, achieving precision levels up to 0.003 mm and speeds reaching up to 2000 mm/s.
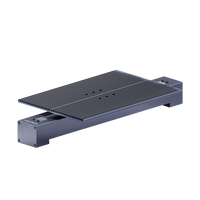
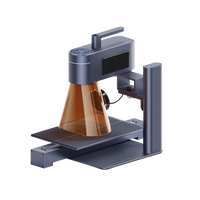
- Expanded Workspace: The LP4 provides an expanded workspace of up to 160 mm x 120 mm, enabling cutting on larger objects.
Step 3: Prepare Your Cutting Design
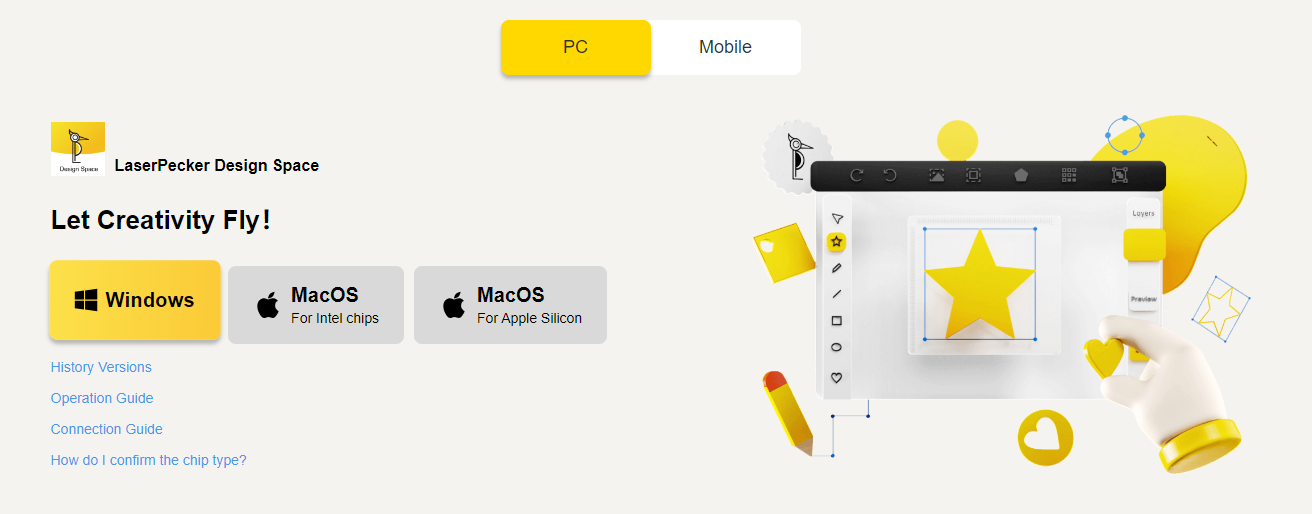
Use graphic design software to create or import the shape or design you want to cut on the MDF's surface. Consider size, shape, and other details.
Step 4: Set up the MDF Laser Cutting Machine
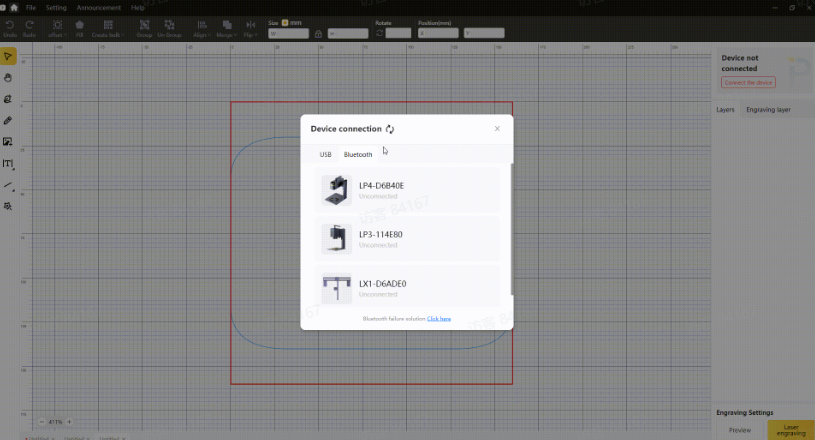
Firstly, Make sure your cutter is powered on, and then connect your laser cutter to your computer or mobile device using the appropriate interface (USB, Bluetooth, etc.)
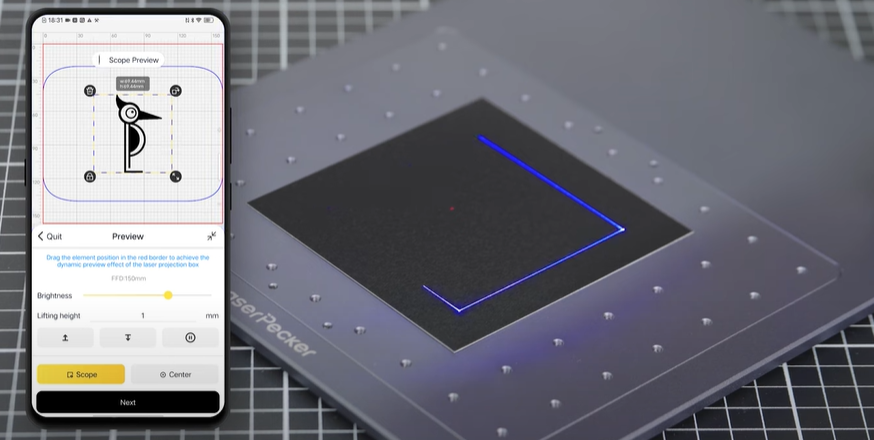
Secondly, Open the graphic design app/software and load your design.
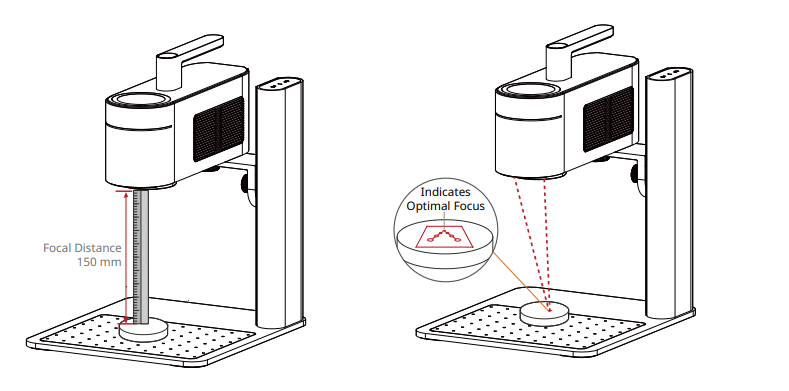
Thirdly, Turn on the "Preview Mode" to confirm if the laser lens is correctly focused. To verify it, you have 2 methods.
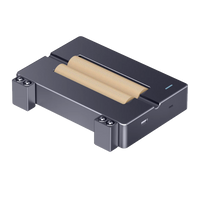
If you choose LaserPecker 4 (LP4), the first method is to use a ruler to measure the distance between the MDF's surface and the machine, with a recommended distance of 15cm or 150mm.
Alternatively, you can achieve the correct focal length by judging whether the two red dots emitted by the machine overlap. This ensures precise focusing for optimal cutting & engraving results.
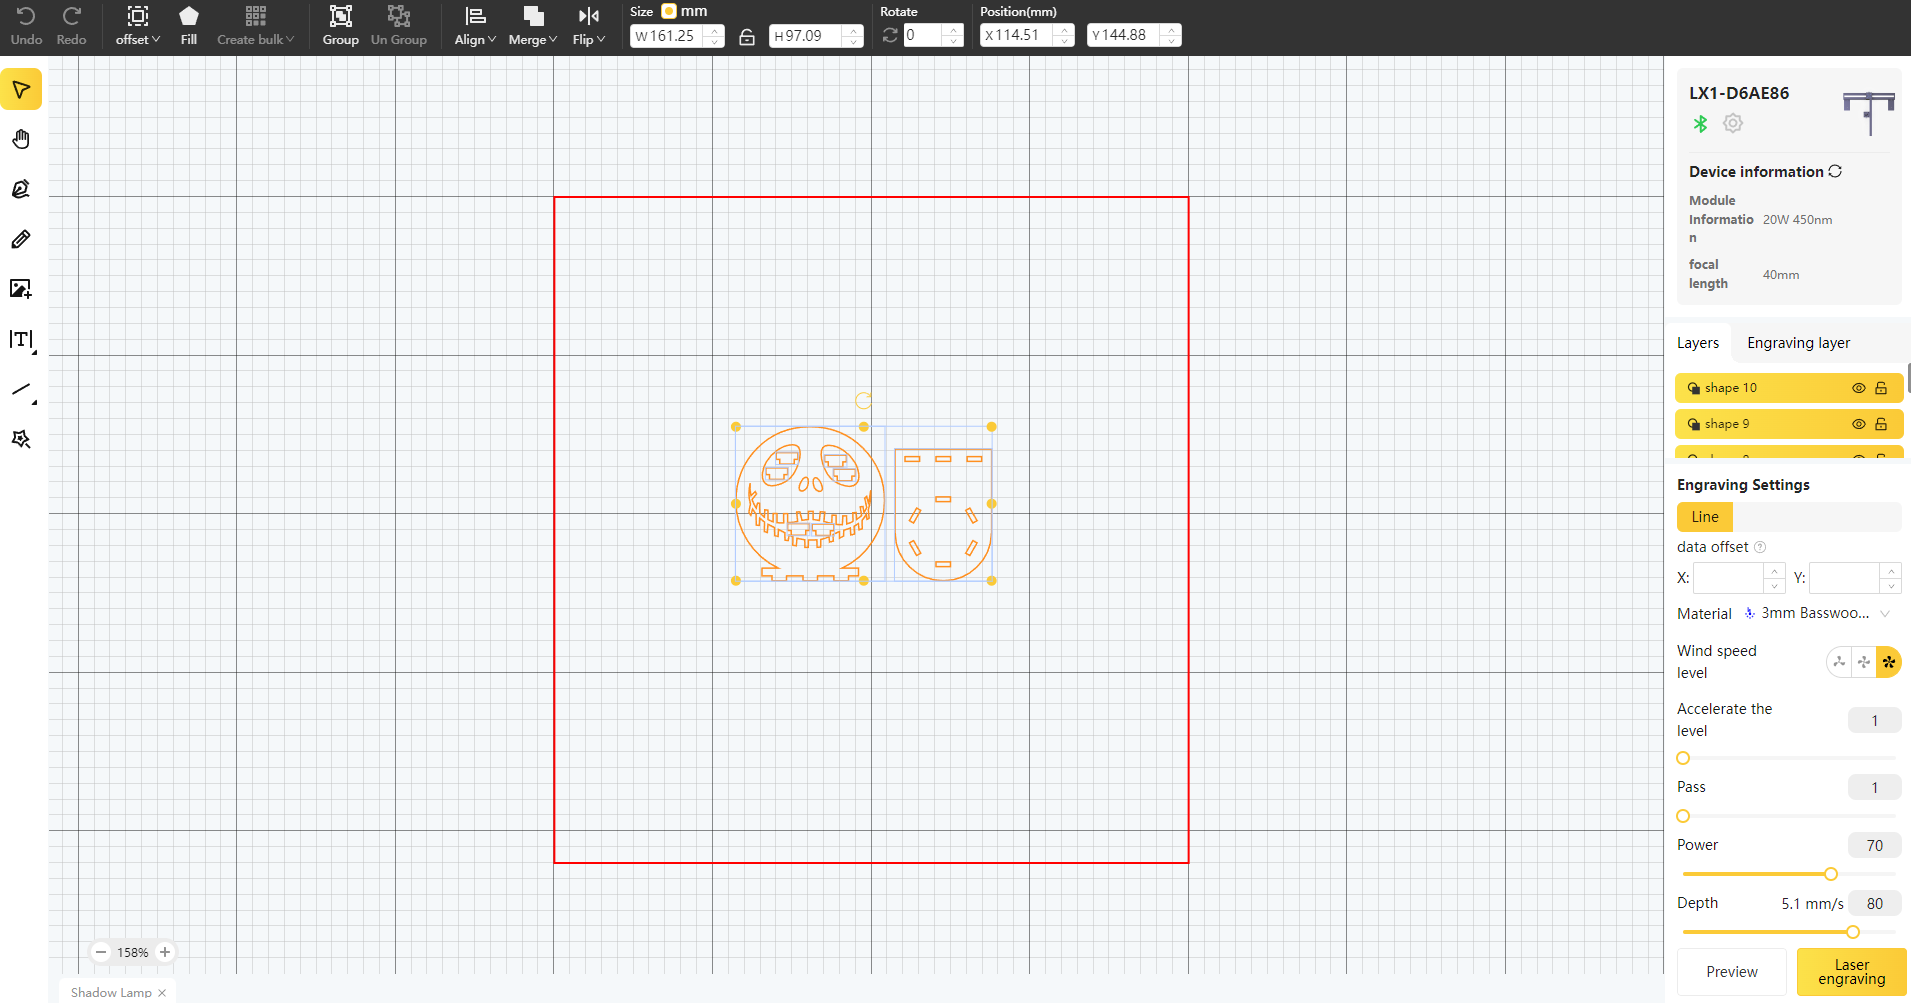
Fourthly, You need to place the items within the designated working area and examine the design's appearance on the MDF. If it doesn't fit correctly, you'll need to adjust its position and size to ensure it aligns with the dimensions of your project.
Finally, Access the software's laser settings to adjust parameters like power, speed, and resolution according to the MDF's properties and design intricacy. You might be wondering, "How much laser power is needed to cut MDF?" Rest assured, I've got you covered!
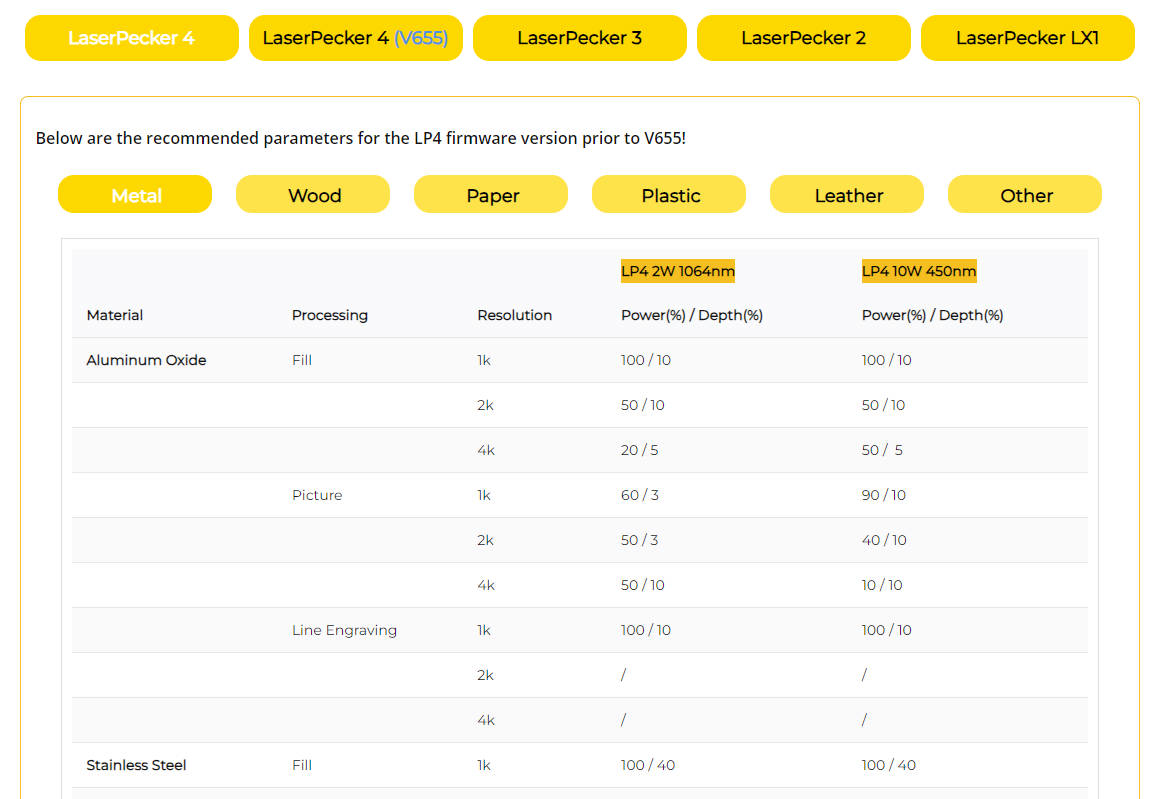
To get the best result, the recommended laserpecker 4 material settings for cutting MDF is 10 W 450 nm; Resolution: 1k; Power: 100%; Depth: 95%; Pass: 1
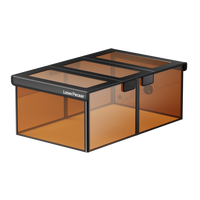
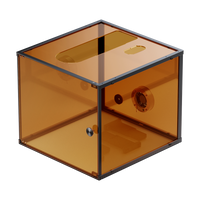
When operating a laser engraving and cutting machine with a 450 nm blue laser, it's advisable to wear goggles or use a laser protection cover to protect your eyes and body from potential harm, as the blue laser can pose risks.
To explore other recommended laserpecker engraving and cutting parameters, refer to the settings table that applies to any laserpecker machines, including LP1, LP2, LP3, LP4 and LX1.
Step 5: Start Cutting Your MDF With Laser Now
Double-check everything to avoid mistakes. Then, hit the start button and watch the magic happen. The laser brings your design to life. Keep an eye on it, and you're all set!
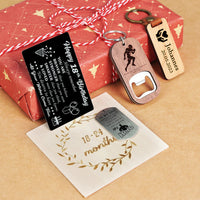
After laser cutting, you might want to add patterns or designs on the laser cut MDF candle holder. In such cases, laser engraving the MDF can be beneficial.
Additionally, please be mindful that smoke may be emitted during the MDF laser engraving process. Wearing a mask or employing an air purifier is essential for safety.
If you want to know more about how to use the LaserPecker LP4 machine, check out the LP4 User Manual on our website!
Conclusion
In summary, MDF laser cutting offers versatility and precision, transforming MDF into intricate designs and functional products with clean edges and intricate patterns. It opens up endless possibilities for artistic expression, industrial manufacturing and personal projects.


