


If you're considering starting a small business or pursuing a side hustle in the world of laser engraving, efficiency is undoubtedly a crucial factor to consider. At LaserPecker, we prioritize efficiency, and that's why we have developed our innovative button and thoughtful designs specifically for batch engraving.
In this blog, we aim to showcase the remarkable accessories designed for our laser engraving and cutting machines—the LP2 & LP3 models. Additionally, we will highlight the benefits of these accessories, which significantly contribute to improving efficiency. This comprehensive guide will assist you in using these accessories effortlessly and unlocking your creative potential for your artistic endeavors.
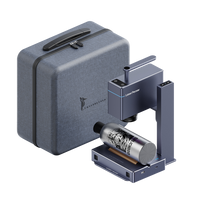
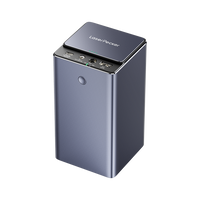
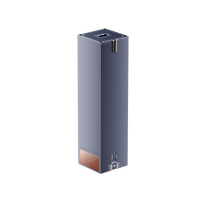
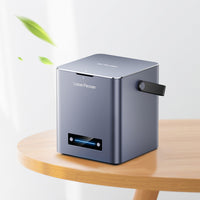
I. Batch Engraving Button
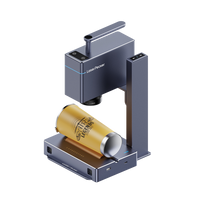
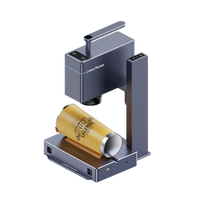
This device is designed for high efficiency and flexibility, instead of engraving or cutting individual products separately, try batch production of multiple identical products on the same material. By eliminating the need for repeated parameter settings, it saves you valuable time and energy while greatly increasing production efficiency.
①Simple steps to batch working:
-
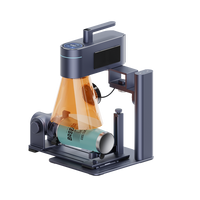
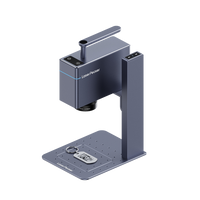
Seamless Connectivity:
Start by connecting the batch engraving button to the laser head using a USB cable, specifically a Type C connector.
-
Convenient Button Attachment:
The batch engraving button can magnetically attach to and detach from the laser head's handle with ease, adding a level of convenience to your workflow.
-
Wireless Control:
Connect the device to your LaserPecker App via Bluetooth. This connection allows for seamless control and access to advanced settings.
-
Unlock the Button Functionality:
By accessing the "Settings" icon in your LaserPecker App, navigate to the "Mode Settings" and enable the "Button Unlock" feature.
-
Effortless Preview and Engraving:
Select the pattern or image you wish to engrave and initiate the first trial. To preview subsequent engravings, simply give the button a short press. End the preview mode with another short press. When you are ready, long press the button for 2-3 seconds to begin the engraving process. Pause the engraving with a single short press, and end it with another long press for 2-3 seconds.
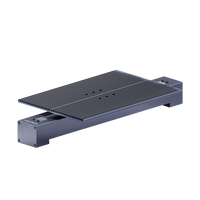
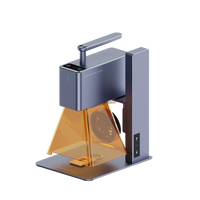
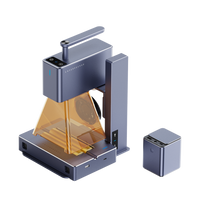
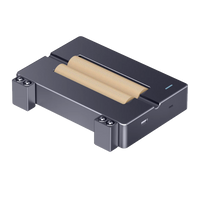
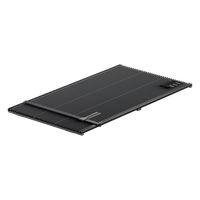
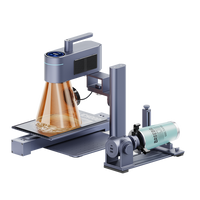
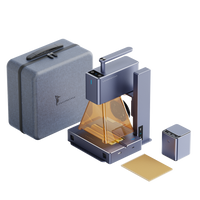
II. Adjustable Alignment Fixtures on Base Plate
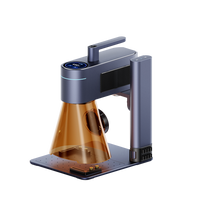
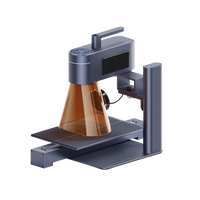
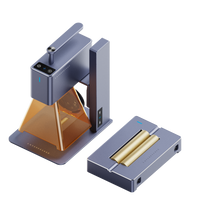
On top of these impressive features, the LaserPecker 3 offers adjustable alignment fixtures on its base plate, setting it apart from its predecessor LaserPecker 2. The removable base plate of the LaserPecker 3 boasts several arrays of thoughtfully designed holes. These holes serve a magical purpose - they accommodate adjustable alignment fixtures, taking batch engraving efficiency to new heights.
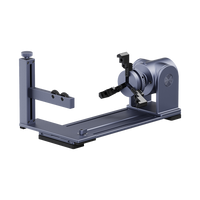
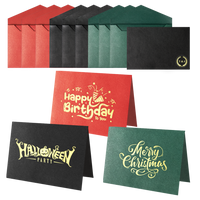
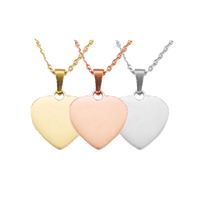
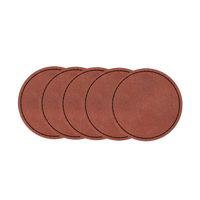
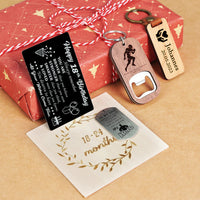
With the LaserPecker 3, you can position the fixtures using four screws, allowing for continuous batch work. Simply insert your objects, such as cards, into the fixed shape and let the LaserPecker 3 work its magic. Say goodbye to repetitive parameter settings for each individual engraving. The LaserPecker 3 streamlines the process and effortlessly handles batch engraving, making it an ideal choice for business applications or large-scale projects.
III. Final Message
At LaserPecker, we take great pride in continuously developing and enhancing laser engraving innovations. Time is of the essence when running a business or pursuing a side hustle, and our models offer the perfect creative solutions. Whether you're selling customized products or original works of art, both online and in person, the engraver's unparalleled precision, speed, and efficiency, combined with the creative add-ons, will propel your productivity and sales to new heights. So, let your creativity soar with LaserPecker!


