


Laser engraving technology has revolutionized the art of crafting rubber stamps, providing unparalleled precision and flexibility in design. This transformative process involves using a laser to meticulously etch patterns onto rubber surfaces, creating custom stamps for a variety of applications.
Whether for personal or industrial use, the ability to engrave intricate designs with ease has made laser engraving a preferred method in the creation of rubber stamps. In this guide, we will explore the step-by-step process of laser engraving a rubber stamp, from design preparation to the final testing phase, empowering enthusiasts and professionals alike to unlock the potential of this versatile technique.
Part 1: All About Engraved Rubber
Engraved rubber typically refers to the process of engraving or etching designs, text, or patterns onto rubber surfaces. This can be done for various purposes, including creating custom stamps, industrial marking, or decorative items. The process usually involves using laser engraving or traditional engraving methods to etch the rubber material.
Here are a few common applications of engraved rubber:
- Rubber Stamps: Engraving is commonly used to create rubber stamps for various uses, such as office documentation, crafting, or artistic projects. The engraved rubber surface is inked and pressed onto paper or other surfaces to create a printed image.
- Industrial Marking: Engraving on rubber is also employed in industrial settings for marking purposes. Rubber components or products may be engraved with identification numbers, logos, or other information for tracking and quality control.
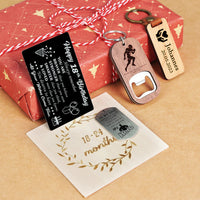
- Decorative Items: Rubber can be engraved for artistic or decorative purposes. This might include creating personalized rubber bracelets, keychains, or other promotional items.
- Gaskets and Seals: In industrial applications, rubber gaskets and seals may be engraved for identification or to include information about the product, such as manufacturer details or specifications.
- Prototyping: Engraved rubber is sometimes used in the prototyping process, especially when creating custom rubber components for various applications.
The choice of engraving method (laser, mechanical, etc.) may depend on the specific requirements of the application and the type of rubber being used. Laser engraving is often preferred for its precision and versatility in creating intricate designs.
Part 2: How to Laser Engrave A Rubber Stamp?
Laser engraving a rubber stamp involves using a laser to remove material from the rubber surface, creating a relief pattern that can be used for stamping. Here's a general guide on how to laser engrave a rubber stamp:
Materials and Tools Needed:
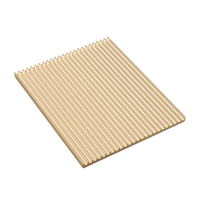
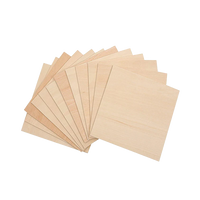
- Rubber Sheet:Select a rubber sheet suitable for laser engraving. Typically, natural rubber or specialized laser engraving rubber is used.
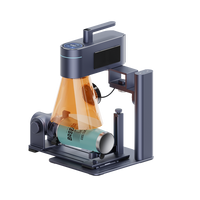
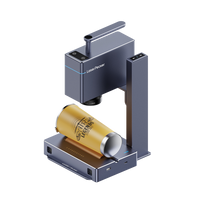
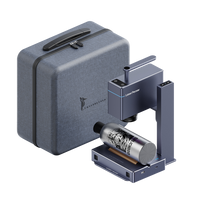
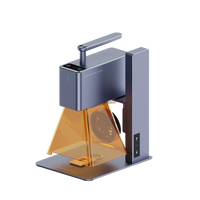
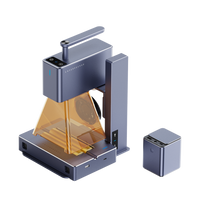
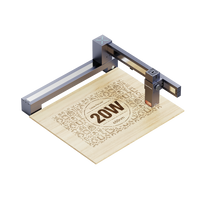
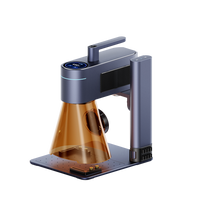
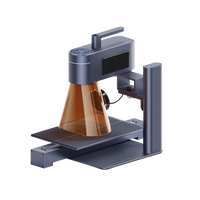
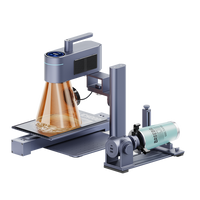
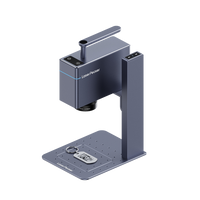
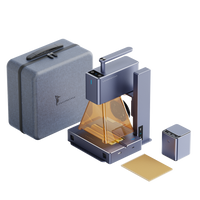
- Laser Engraving Machine:Ensure that you have access to a laser engraving machine with the appropriate power and settings for rubber engraving.
- Design Software:Prepare your stamp design using graphic design software like Adobe Illustrator, CorelDRAW, or other vector-based programs.
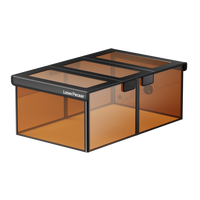
- Ventilation System:Laser engraving generates fumes, so it's essential to have proper ventilation in the workspace.
Steps:
- Prepare Your Design:
Create your stamp design in vector format. Ensure that the design is suitable for engraving and that the lines are well-defined.
- Configure Laser Settings:
Consult the user manual of your laser engraving machine for recommended settings for rubber engraving. Settings may include power, speed, and resolution. Test with a small piece of rubber first to ensure optimal results.
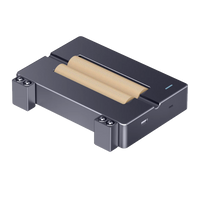
- Secure the Rubber Sheet:
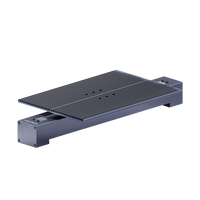
Secure the rubber sheet onto the bed of the laser engraving machine. Some machines have a vacuum bed to hold materials in place.
- Import Design into Engraving Software:
Import your stamp design into the engraving software that controls the laser machine. Arrange the design within the specified engraving area.
- Calibrate the Laser:
Calibrate the laser focusing distance to ensure accurate engraving. This is important for achieving the desired depth and detail.
- Run a Test:
Before engraving the entire stamp, run a test on a small section of the rubber to confirm that the settings are appropriate. Adjust settings as needed.
- Start the Engraving Process:
Once satisfied with the test, start the engraving process. The laser will follow the vector paths in your design, removing material and creating the stamp's relief pattern.
- Inspect and Clean:
After engraving is complete, carefully inspect the stamp for any imperfections. Clean the rubber surface to remove any residue from the engraving process.
- Mount the Stamp:
Mount the engraved rubber onto a suitable backing material, such as wood or acrylic, to provide stability and facilitate stamping.
- Test Your Stamp:
Test your rubber stamp on paper or another suitable surface to ensure that it produces clear and consistent impressions.
Conclusion
In the ever-evolving landscape of creative expression and practical application, the advent of laser engraving has undeniably transformed the traditional art of crafting rubber stamps. With its unmatched precision and adaptability, laser engraving has emerged as a catalyst for seamlessly translating intricate designs onto rubber surfaces. From personalized artwork to streamlined industrial processes, laser-engraved rubber stamps have swiftly become indispensable tools, merging technology and craftsmanship in unprecedented ways.
As we draw the curtain on this guide, the hope is that the elucidated steps have demystified the process, inspiring enthusiasts and professionals to explore the boundless potential that laser engraving offers in leaving an indelible mark on various surfaces. The marriage of technology and creativity in laser engraving continues to redefine the possibilities, inviting individuals to embark on a journey of innovation and uniqueness.


1 comment
Максим Олегович Карпов comment.created_at: comment.updated_at:
Hello. Please provide detailed instructions for making seals (stamps) on rubber. I have already made the print layout in the Corel program.