


In today's era of personalization and bespoke craftsmanship, the art of pencil engraving has emerged as a captivating means of adding a distinctive touch to everyday items. Whether for gifting purposes, artistic expression, or brand personalization, engraving pencils offers a unique way to make an indelible mark.
The meticulous process of pencil engraving involves the intricate etching of designs, names, or messages onto various types of pencils, transforming them into cherished keepsakes or tools for professional endeavors. As we delve deeper into the realm of pencil engraving, this guide aims to illuminate the techniques, tools, and creative possibilities inherent in this art form.

In this article:
Part 1: All About Engraved Pencils
Pencil engraving stands as an artful fusion of innovation and tradition. At its core, it involves the process of delicately etching designs, text, or patterns onto pencils, thereby enhancing their aesthetic appeal and sentimental value.
Typically, wooden pencils serve as the primary canvas for engraving due to their suitability for intricate markings. However, advancements in technology have enabled the engraving of various types, including mechanical and colored pencils, expanding the scope of creative possibilities.
The significance of pencil engraving extends beyond mere decoration. It offers a personalized touch, making it an ideal choice for commemorating special occasions, branding purposes, or crafting unique gifts that resonate on a personal level. Moreover, engraved pencils often serve as tangible reminders, carrying motivational quotes, names, or logos that inspire or promote individuality.
Part 2: How to Engrave Pencils with Cricut Maker?
Necessary Tools and Materials
The Cricut Maker, a versatile and precise cutting machine, introduces an innovative approach to pencil engraving, allowing for intricate designs and personalized text to be etched onto various surfaces, including pencils. To embark on this creative journey, gather the following tools and materials:
Tools:
- Cricut Maker: This cutting machine serves as the primary tool for engraving names or designs onto pencils.
- Fine-Point Blade: Ensures precise and clean cuts on the pencil surface.
- Computer or Mobile Device: Required to operate the Cricut Design Space software.
Materials:
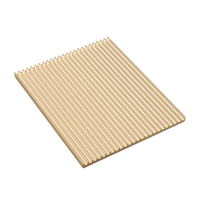
- Pencils: Wooden pencils are optimal for engraving due to their smooth surface and durability.
- Adhesive Vinyl or Sticker Paper: Used to create stencils for the engraving process.
- Transfer Tape: Helps transfer the stencil onto the pencil surface accurately.
- Rubbing Alcohol and Cotton Pads: For cleaning the surface of the pencils before engraving.
- Masking Tape: Secures the pencils in place during the engraving process.
Step-by-Step Guide to Engrave Pencils
Step 1: Design Creation
Launch the Cricut Design Space software on your computer or mobile device.
Create or select the design or text you want to engrave on the pencils.
Adjust the dimensions and orientation of the design to fit the pencil's surface.
Step 2: Prepare the Pencils
Clean the surface of the pencils using rubbing alcohol and cotton pads to ensure they are free from any oils or debris.
Apply the adhesive vinyl or sticker paper onto the cutting mat, ensuring it's firmly secured.
Step 3: Cutting the Stencil
Load the cutting mat into the Cricut Maker and select the appropriate settings for cutting the adhesive material.
Use the fine-point blade to precisely cut the stencil following the design in the software.
Step 4: Applying the Stencil
Carefully remove the excess material from the stencil using a weeding tool.
Place transfer tape over the stencil and carefully lift the design from the backing.
Apply the stencil onto the cleaned surface of the pencil, ensuring it's centered and adhered smoothly.
Step 5: Engraving Process
Secure the pencil onto a stable surface using masking tape to prevent movement during engraving.
Adjust the Cricut Maker settings for engraving, specifying the depth and speed for optimal results.
Initiate the engraving process, allowing the machine to etch the design onto the pencil's surface.
Step 6: Final Touches
Carefully remove the stencil from the pencil surface after the engraving is complete.
Clean the pencil to remove any adhesive residue or debris, revealing the engraved name or design.
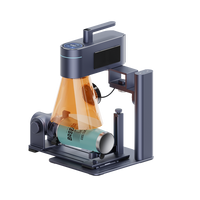
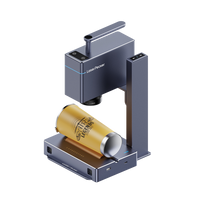
Part 3: How to Laser Engrave Pencils?
Necessary Tools and Materials
Laser engraving offers a high-precision method for creating intricate designs, text, or patterns on various materials, including pencils. Here's a step-by-step guide on how to laser engrave pencils:
Tools:
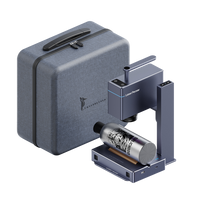
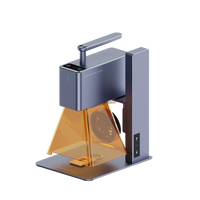
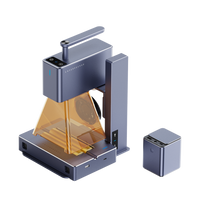
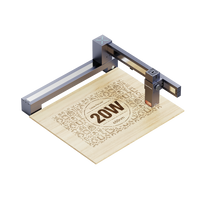
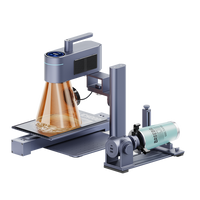
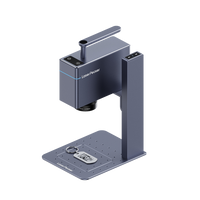
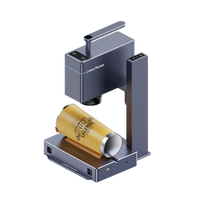
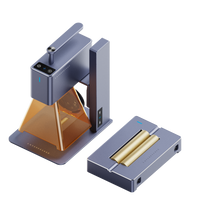
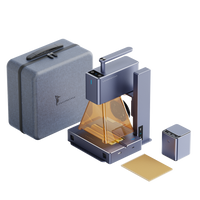
- Laser Engraving Machine: Utilized for precise engraving on the surface of the pencil.
- Design Software: To create and upload the desired design or text for engraving.
- Safety Gear: Laser engraving may require safety glasses or goggles for eye protection.
Materials:
- Pencils: Wooden or plastic-based pencils are suitable for laser engraving.
- Cleaning Materials: Rubbing alcohol and cotton pads to clean the pencil surface before engraving.
Step-by-Step Guide to Laser Engrave Pencils
Step 1: Design Preparation
Create or select the design, text, or pattern you wish to engrave using design software compatible with your laser engraving machine.
Ensure the dimensions and orientation of the design fit the surface area of the pencil.
Step 2: Preparation of Pencils
Clean the surface of the pencils thoroughly using rubbing alcohol and cotton pads. This helps remove any dirt, oils, or debris that may interfere with the engraving process.
Step 3: Machine Setup
Set up and calibrate the laser engraving machine according to the manufacturer's instructions.
Place the pencils securely within the engraving area, ensuring they are stable and won't move during the process.
Step 4: Adjust Settings
Configure the laser engraving machine settings, specifying the depth, speed, and intensity of the engraving.
Perform a test run on a spare pencil to ensure the settings produce the desired results before engraving the final pencils.
Step 5: Initiate Engraving
Start the laser engraving process, allowing the machine to precisely etch the design onto the surface of the pencil.
Monitor the engraving progress to ensure accuracy and quality. Adjust settings if needed during the process.
Step 6: Finalization and Clean-Up
Once the engraving is complete, carefully remove the engraved pencils from the machine.
Clean the pencils to remove any residual debris or markings left from the engraving process, using a soft cloth or brush if necessary.
Part 4: Hot 10 FAQs About Engraving Pencils
- What is pencil engraving?
Pencil engraving involves the process of etching designs, text, or patterns onto the surface of pencils using various methods like laser engraving, hand engraving, or utilizing specialized machines.
- What types of pencils can be engraved?
Wooden pencils are commonly used for engraving due to their smooth surface. However, mechanical pencils, colored pencils, and other materials suitable for engraving can also be used.
- How does pencil engraving differ from pencil embossing?
Pencil engraving involves etching or carving designs into the surface, creating a visible indentation. Pencil embossing, on the other hand, raises the surface material to form a raised, textured design.
- How to engrave a name on a pencil?
Engraving a name on a pencil can be done using various methods like laser engraving, hand engraving, or using specialized engraving machines. One method involves creating a stencil or design, then using an engraving machine to etch the name onto the pencil's surface.
- What tools are needed to engrave pencils?
Tools required for pencil engraving may include engraving machines, fine-point blades, design software, adhesive materials for stencils, cleaning supplies, and safety gear.
- Is pencil engraving permanent?
Yes, pencil engraving, when done correctly, creates permanent markings on the surface of the pencil, ensuring durability and longevity of the engraved design or text.
- Can you engrave multiple pencils with the same design?
Yes, identical designs or text can be engraved on multiple pencils using engraving machines or methods that allow for batch processing.
- Are there any limitations to what can be engraved on pencils?
The limitations may depend on the engraving method used and the precision of the equipment. However, intricate designs, logos, text, and patterns can typically be engraved on pencils.
- What are some creative ideas for engraved pencils?
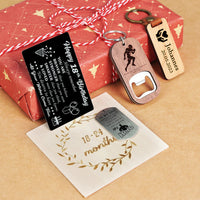
Engraved pencils make excellent personalized gifts, promotional items, or unique stationery. They can feature names, quotes, logos, or decorative designs tailored for special occasions or branding purposes.
- How to personalize pencils for gifting purposes?
Personalizing pencils for gifting involves choosing meaningful designs, names, or messages and using engraving techniques to etch them onto the pencil's surface, creating unique and thoughtful gifts.
Conclusion
In conclusion, pencil engraving transcends mere utility, offering a canvas for personal expression and sentimentality. From intricate designs to personalized messages, this art form elevates ordinary pencils into cherished mementos or powerful branding tools.
Whether through laser precision, machine-assisted finesse, or handcrafted artistry, the process adds a distinctive touch. Engraved pencils stand as enduring symbols, carrying the weight of significance in gifting, promotions, or individual creativity. Embracing precision and innovation, pencil engraving enriches the world of stationery, ensuring that every stroke etched becomes a testament to craftsmanship and personal connection.


