


Engraving cutting boards is an art that combines functionality with personalization, making for unique and cherished pieces in any kitchen. Whether you're an aspiring artist, a DIY enthusiast, or simply seeking a thoughtful gift idea, engraving your cutting board opens up a realm of creative possibilities.
In this comprehensive guide, we'll explore how to engrave cutting board, exploring techniques, tools, and inspirational ideas to help you craft stunning culinary masterpieces.

In this article:
Part 1: What Is Laser Engraved Cutting Board?
Laser engraved cutting boards are popular for their ability to add personality and uniqueness to kitchenware. They are practical tools for food preparation and stylish decorative elements in the kitchen.
Laser engraving allows for unlimited customization, from initials and names to intricate designs and meaningful quotes. This is an opportunity to customize a one-of-a-kind piece to your or the recipient's taste.
Engraved cutting boards make thoughtful gifts for a variety of occasions, such as weddings, housewarmings, birthdays or as holiday gifts. They show care and consideration, leaving a lasting impression on the recipient.
Part 2: How to Laser Engrave A Cutting Board?
Laser engraving is a popular and precise method for personalizing cutting boards. It offers incredible accuracy and allows for intricate designs and precise detailing. Here's a step-by-step guide on how to laser engrave a cutting board:
Materials and Tools Needed:
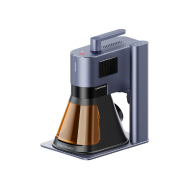
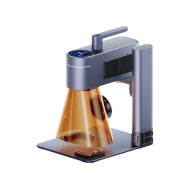
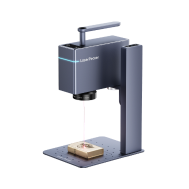
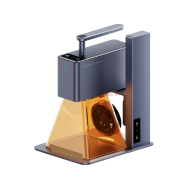
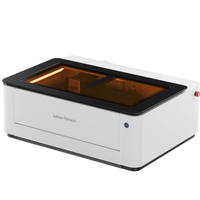
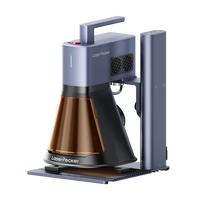
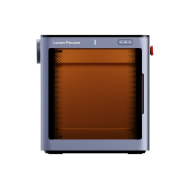
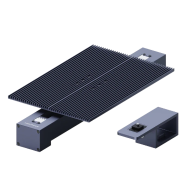
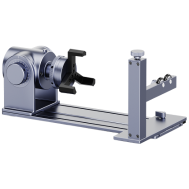
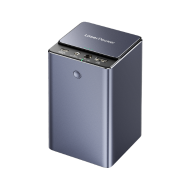
- Laser Engraving Machine: You'll require access to a small laser engraver suitable for your cutting board.
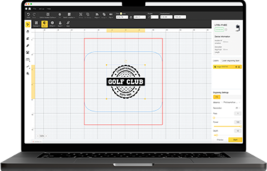
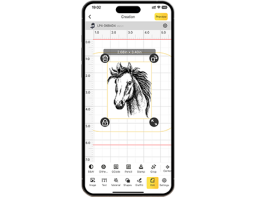
- Design Software: Use LaserPecker Design Space software to create or import the design you wish to engrave onto the cutting board.
- Cutting Board: Select a suitable cutting board material. Wood, bamboo, and certain plastics are commonly used due to their compatibility with laser engraving.
- Safety Gear: Don't forget safety glasses and appropriate ventilation if working with materials that produce fumes.
Step-by-Step Process:
1. Design Creation/Selection: Using design software, create your own design or select one suitable for engraving. Ensure the dimensions match the size of your cutting board and adjust as needed.
2. Prepare the Cutting Board: Clean the cutting board surface thoroughly to remove any dirt or debris. Ensure it's dry before proceeding.
3. Setup the Engraving Machine:Calibrate the laser engraving machine according to the manufacturer's instructions. Set the appropriate laser power and speed settings based on the material of the cutting board.
4. Import Design: Load your chosen design into the engraving software. Adjust the position and size of the design to fit the cutting board surface.

5. Test Run: Before engraving on the actual cutting board, perform a test run on a scrap piece of the same material to ensure the settings are correct and the design appears as intended.
6. Engraving Process: Once satisfied with the test, place the cutting board into the laser engraving machine. Double-check the alignment of the design. Start the engraving process, ensuring the machine operates smoothly.
7. Monitoring: During the engraving process, closely monitor the machine to ensure the design is being engraved correctly and without any issues.

8. Finishing: Once the engraving is complete, carefully remove the cutting board from the machine. Clean the engraved surface to remove any residue or debris from the engraving process.
9. Final Check and Maintenance: Inspect the engraved design for quality and clarity. If satisfied, consider applying a food-safe finish to the cutting board to protect the engraved area.
10. Admire and Enjoy: Your personalized and laser-engraved cutting board is now ready to be used or gifted!
If you want to learn more about laser engraved cutting board projects, visit our LaserPecker CraftZone!

Part 3: Alternative Methods for Engraving Cutting Board
While laser engraving is a precise and popular method for customizing cutting boards, there are several alternative approaches to achieve personalized designs. Here are a few methods you can explore:
1. Hand Engraving:
Tools Required: Hand engraving tools such as chisels, gouges, or rotary tools like Dremel.
Process: Hand engraving involves carving designs directly onto the surface of the cutting board. It allows for intricate detailing but requires skill and patience. Sketch the design on the board before carefully engraving by hand.
2. Wood Burning or Pyrography:
Tools Required: Pyrography pen or wood-burning tool.
Process: Wood burning involves using a heated pen to burn designs onto the surface of the cutting board. It's versatile and allows for various shading and line thicknesses. Sketch the design lightly before using the pyrography tool to burn the design onto the board.
3. CNC Routing:
Tools Required: CNC (Computer Numerical Control) router machine.
Process: CNC routing involves using a machine programmed with a specific design to carve the pattern into the cutting board. It's precise and can create intricate designs but might require access to a CNC machine.
4. Decal Application:
Materials Required: Custom decals or stickers.
Process: Create or purchase custom decals or stickers with your desired design. Apply these onto the cutting board surface. Ensure the decals are food-safe and adhere well to the material.
5. Sandblasting:
Tools Required: Sandblasting equipment.
Process: Sandblasting involves using high-pressure sand or abrasive material to etch designs onto the cutting board's surface. It's a more industrial method but can produce intricate and durable engravings.
6. Stenciling and Painting:
Materials Required: Stencils, paint suitable for the cutting board material.
Process: Use stencils to create designs on the cutting board surface. Paint within the stenciled areas with food-safe paint, allowing it to dry before using the cutting board.
7. Vinyl Cutting:
Tools Required: Vinyl cutting machine, adhesive vinyl sheets.
Process: Use a vinyl cutting machine to create custom designs on adhesive vinyl sheets. Apply the vinyl design onto the cutting board's surface, ensuring it adheres well.
Part 4: Hot 10 FAQs About Engraving Cutting Board
1. Can I engrave any type of cutting board?
Generally, wood and bamboo cutting boards are best suited for engraving due to their natural textures. However, some plastic and glass cutting boards can also be engraved with specialized equipment.
2. Is engraving safe for food preparation?
Engraving can be safe for food preparation if proper precautions are taken. Ensure the materials and techniques used are food-safe and non-toxic.
3. What kind of designs work best for engraving?
Designs with clear outlines and defined shapes work well for engraving. Avoid intricate designs that may lose detail when engraved on the cutting board's surface.
4. Can I wash an engraved cutting board in a dishwasher?
It depends on the material and the engraving method used. Some engraved cutting boards may withstand dishwasher cleaning, but handwashing is generally recommended to preserve the engraving.
5. Will the engraving wear off over time with use?
Laser engraving tends to last longer as it etches into the material. Hand engravings or decals may wear off over time with frequent use and washing.
6. What tools do I need for DIY engraving at home?
For DIY engraving, tools such as laser engravers, wood-burning pens, chisels, rotary tools, or vinyl cutting machines can be used depending on the chosen method.
7. Can I reapply the engraving if it fades or wears off?
In some cases, it might be possible to re-engrave or touch up faded engravings. However, it may not achieve the same quality as the original engraving.
8. How deep does the engraving need to be for it to be visible and durable?
Engravings need to be deep enough to be visible but not too deep to compromise the integrity of the cutting board. Generally, a depth of 1-2 millimeters is sufficient.
9. Can I engrave both sides of a cutting board?
Engraving both sides is possible but might affect the board's functionality. It's essential to ensure that the engraving doesn't interfere with the flatness or stability needed for cutting.
10. What's the best way to maintain an engraved cutting board?
Clean engraved cutting boards by hand with mild soap and warm water. Avoid abrasive cleaners or harsh scrubbing that may damage the engraving. Periodically oil wooden cutting boards to maintain their condition.
Conclusion
Engraving cutting boards offers a gateway to personalized kitchen artistry, blending functionality with individuality. Whether through laser precision, hand techniques, or innovative methods, the creative possibilities are endless. From meaningful gifts to adding flair to culinary spaces, engraved cutting boards serve as both practical tools and cherished adornments.
Embrace this craft to elevate kitchen essentials into unique, heartfelt expressions, enriching both cooking experiences and gifting gestures. Explore, create, and relish in the personalized touch these engraved masterpieces bring to everyday culinary endeavors.