


Laser engraving pumpkins offers a modern and precise alternative to traditional carving methods, allowing for intricate and detailed designs that bring a touch of sophistication to fall and Halloween decorations.
In this guide, we will walk through the steps of laser engraving a pumpkin, providing insights into the necessary materials, setup, and design considerations. Whether you're a seasoned enthusiast or a novice looking to explore a new dimension of pumpkin decoration, this process combines technology with creativity to produce stunning and unique results.
Part 1: How to Engrave A Pumpkin by Hand?
Creating an engraved pumpkin can be a fun and creative way to decorate for Halloween or other fall festivities. Here's a simple guide on how to engrave a pumpkin:
Materials:
- Pumpkin
- Sharp knife or pumpkin carving tools
- Marker or pencil
- Template (optional)
- Engraving tool (such as a linoleum cutter or rotary tool)
Steps:
- Select a Pumpkin:
Choose a pumpkin that is firm, smooth, and free from any soft spots or bruises. Make sure it's a size that suits your design.
- Clean the Pumpkin:
Wipe the pumpkin with a damp cloth to remove any dirt or debris. Ensure the surface is dry before you start carving.
- Prepare Your Design:
You can either draw your design directly onto the pumpkin with a marker or pencil or use a template. If using a template, attach it to the pumpkin with tape.
- Carve the Outline:
Use a sharp knife or pumpkin carving tool to carefully carve the outline of your design. This will serve as a guide for the engraving process.
- Remove the Top:
If you haven't done so already, cut a hole in the top of the pumpkin and remove the seeds and pulp. This will make it easier to access the inside for engraving.
- Engrave the Design:
Use an engraving tool such as a linoleum cutter or rotary tool to carefully carve into the pumpkin's flesh along the lines of your design. Take your time and work slowly to avoid mistakes.
- Create Varying Depths:
Experiment with different depths of engraving to add dimension to your design. Deeper cuts will allow more light to shine through, creating a shadow effect.
- Clean Up the Edges:
After engraving, go over the edges of your design with a carving tool to clean up any rough spots and make the lines smoother.
- Light it Up:
Place a battery-operated tea light or LED light inside the pumpkin to illuminate your engraving. Avoid using real candles to reduce the risk of fire.
- Display Your Engraved Pumpkin:
Find a safe and prominent place to display your engraved pumpkin. It can be a beautiful centerpiece for fall celebrations or Halloween.
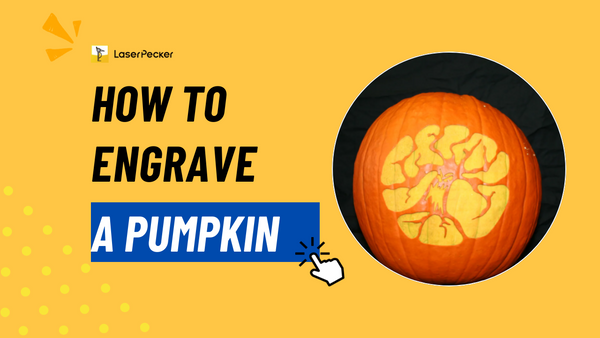
Part 2: How to Laser Engrave A Pumpkin?
Laser engraving a pumpkin can create intricate and precise designs with a unique and professional look. Here's a step-by-step guide on how to laser engrave a pumpkin:
Materials:
- Pumpkin
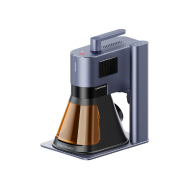
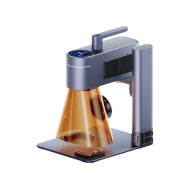
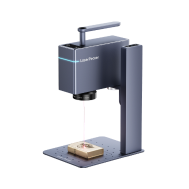
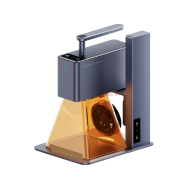
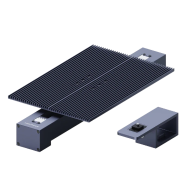
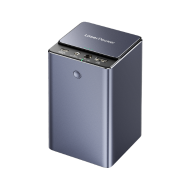
- Laser engraving machine
- Design software compatible with your laser engraving machine
- Vector graphics or a design suitable for engraving
- Masking tape or painter's tape
- Safety glasses
Steps:
- Select a Suitable Pumpkin:
Choose a pumpkin that is firm, smooth, and free from any soft spots or bruises. Ensure it fits within the working area of your laser engraving machine.
- Clean the Pumpkin:
Wipe the pumpkin with a damp cloth to remove any dirt or debris. Make sure the surface is dry before proceeding.
- Prepare Your Design:
Use vector graphics software (such as Adobe Illustrator or CorelDRAW) to create or customize a design suitable for engraving. Make sure the design fits the size of your pumpkin.
- Set Up the Laser Engraving Machine:
Follow the manufacturer's instructions for setting up your laser engraving machine. Ensure that the machine is properly calibrated, and the focus is adjusted for the thickness of the pumpkin skin.
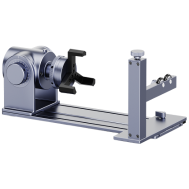
- Secure the Pumpkin:
Place the pumpkin in the laser engraving machine's bed and secure it in place. You may need to use masking tape or painter's tape to hold the pumpkin steady during the engraving process.
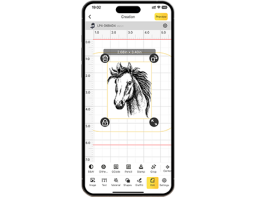
- Import and Position the Design:
Import your design into the laser engraving software and position it on the pumpkin's surface. Ensure that the design is aligned properly and fits within the desired area.
- Adjust Settings:
Configure the laser engraving machine settings, such as power, speed, and resolution, based on the characteristics of the pumpkin skin. Refer to your machine's user manual for guidance.
- Run a Test:
Before engraving the entire design, run a test on a small area of the pumpkin to check the settings and make any necessary adjustments.
- Start Engraving:
Once satisfied with the test results, initiate the engraving process. Monitor the machine closely during the operation.
- Remove Masking Tape:
After engraving is complete, carefully remove any masking tape or painter's tape from the pumpkin.
- Clean Up:
Clean any residue from the pumpkin's surface using a soft brush or cloth.
- Display Your Engraved Pumpkin:
Place a battery-operated tea light or LED light inside the pumpkin to illuminate the engraving. Avoid using real candles for safety.
Conclusion
As the laser completes its delicate dance across the pumpkin's surface, the magic of technology fuses with the rustic charm of autumn. Laser-engraved pumpkins stand as a testament to the endless possibilities that creativity and innovation can bring to seasonal festivities.
Whether adorning your home, office, or a festive event, these meticulously engraved pumpkins capture attention with their precision and unique designs. Embrace the fusion of tradition and technology, as the warm glow emanating from within turns a simple pumpkin into a work of art, adding a touch of elegance to the harvest season.